WHAT SIZE POLES DO I NEED?
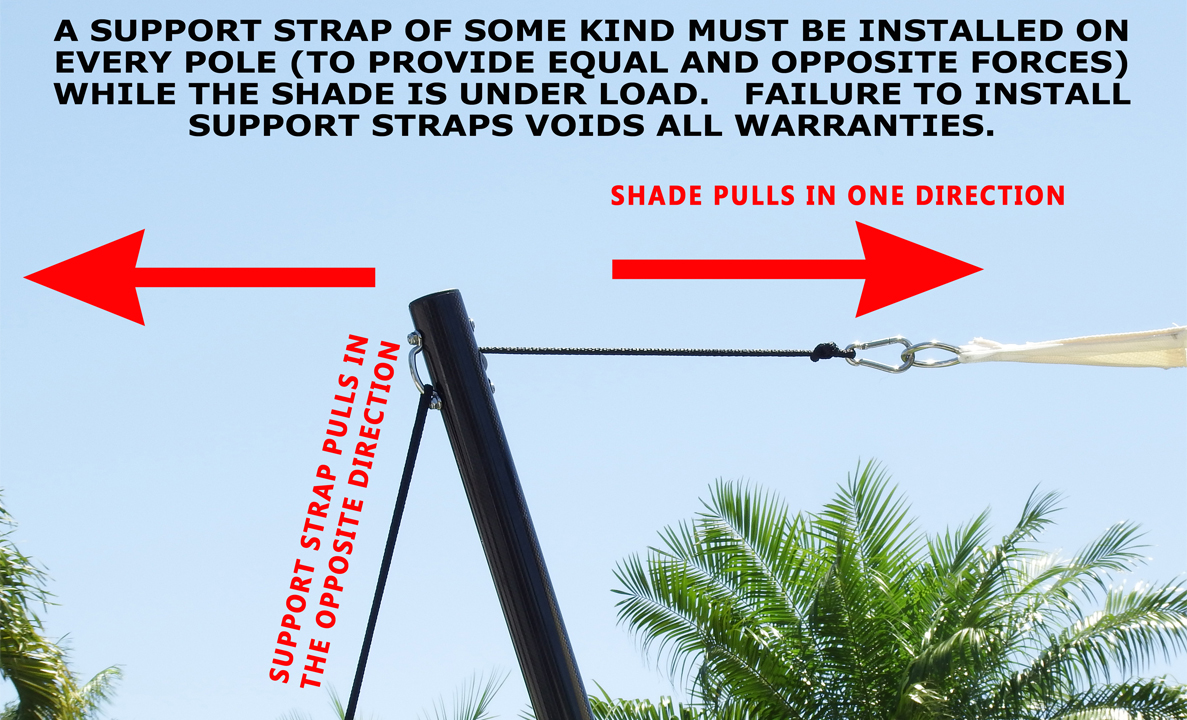
DON’T FORGET TO INSTALL THE SUPPORT STRAPS NO STRAP = NO WARRANTY
Make sure the poles you are using are not too small for the size shade. If they are, there is no warranty. Unsure what you need? Contact us for guidance
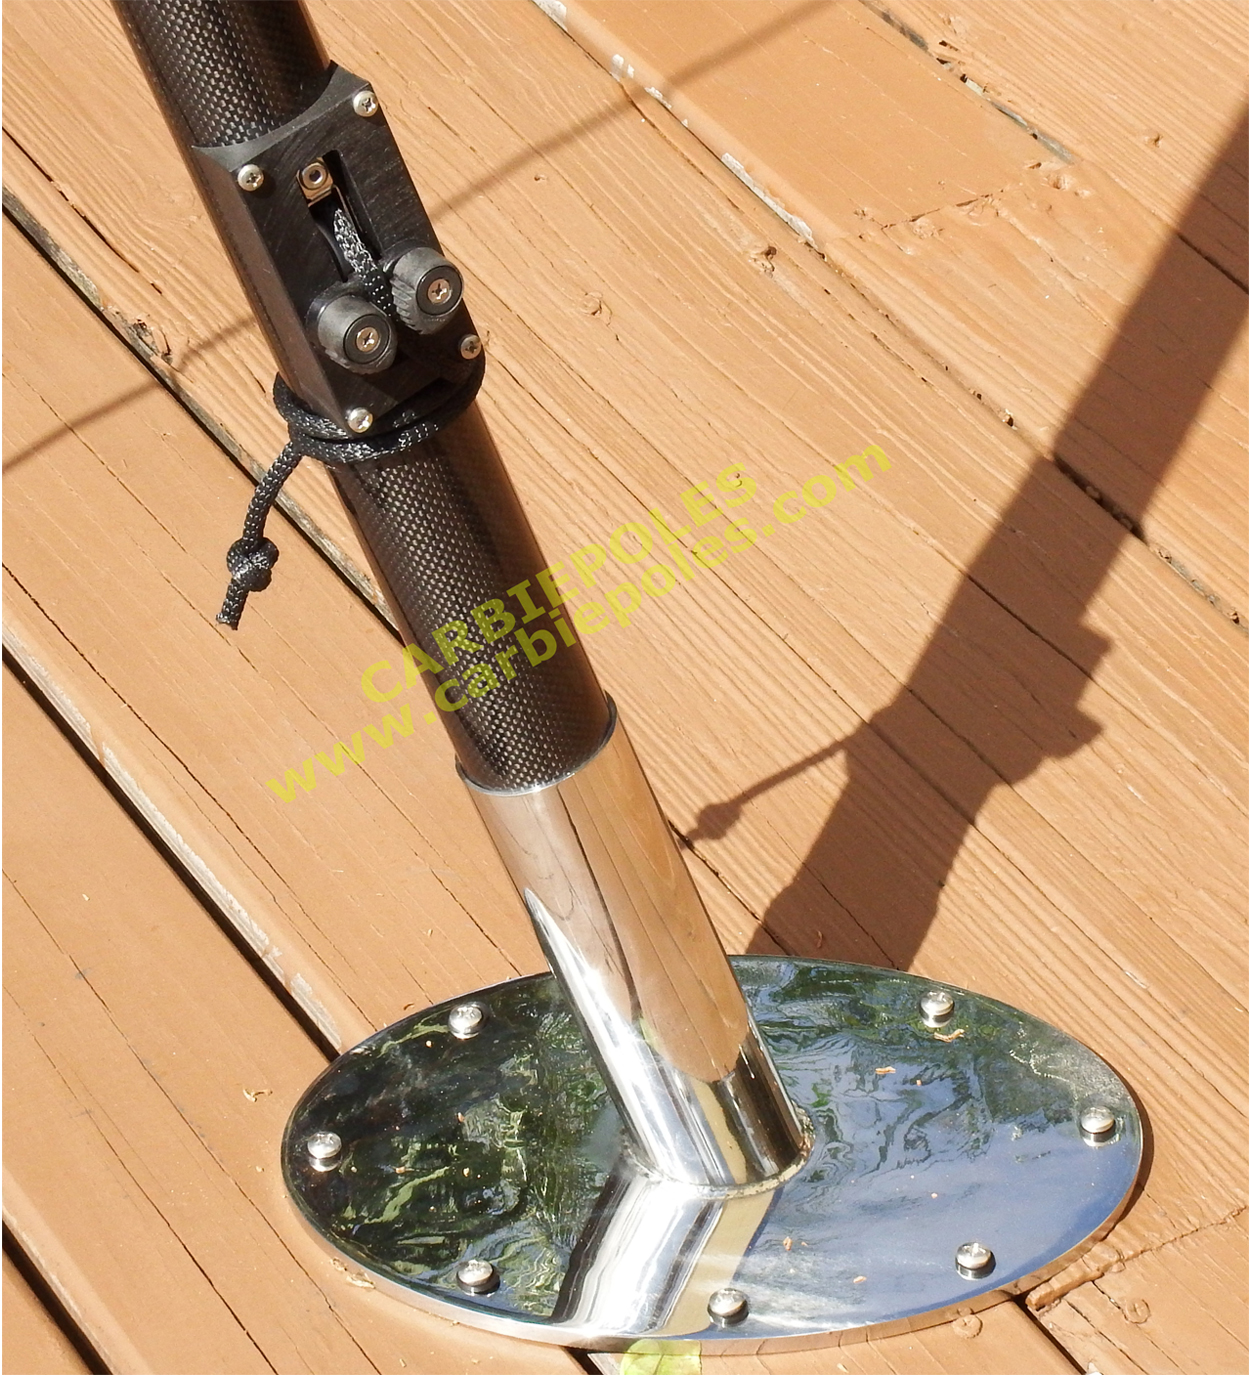
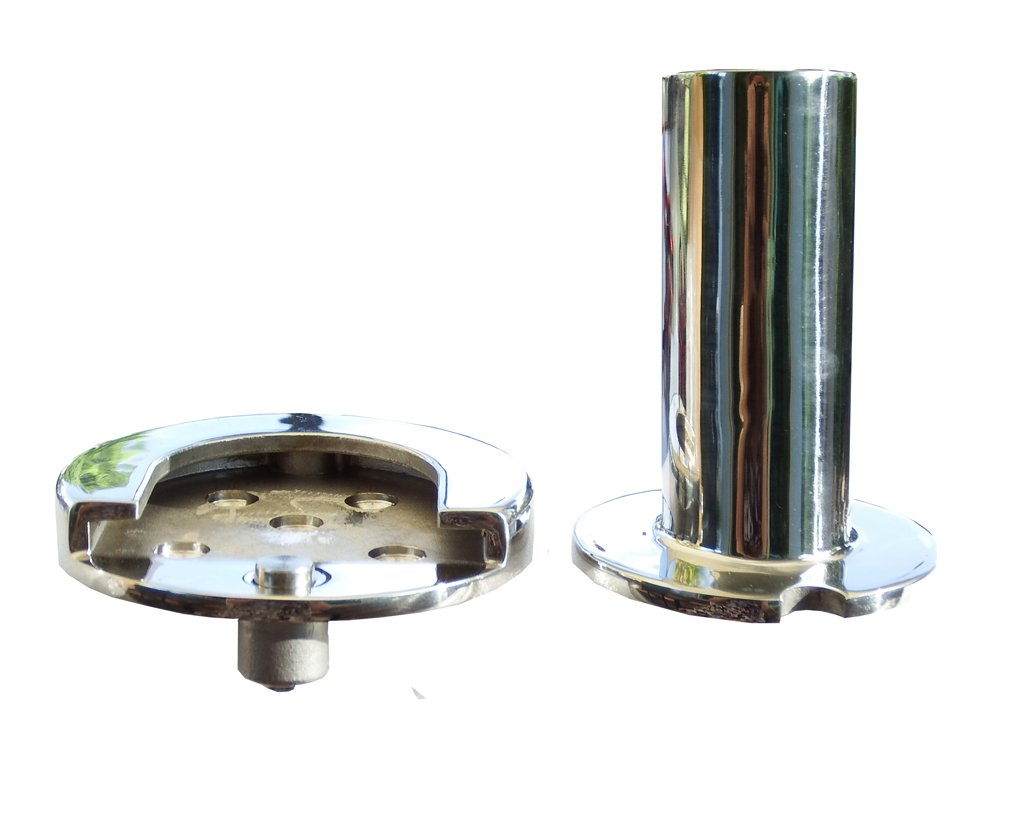
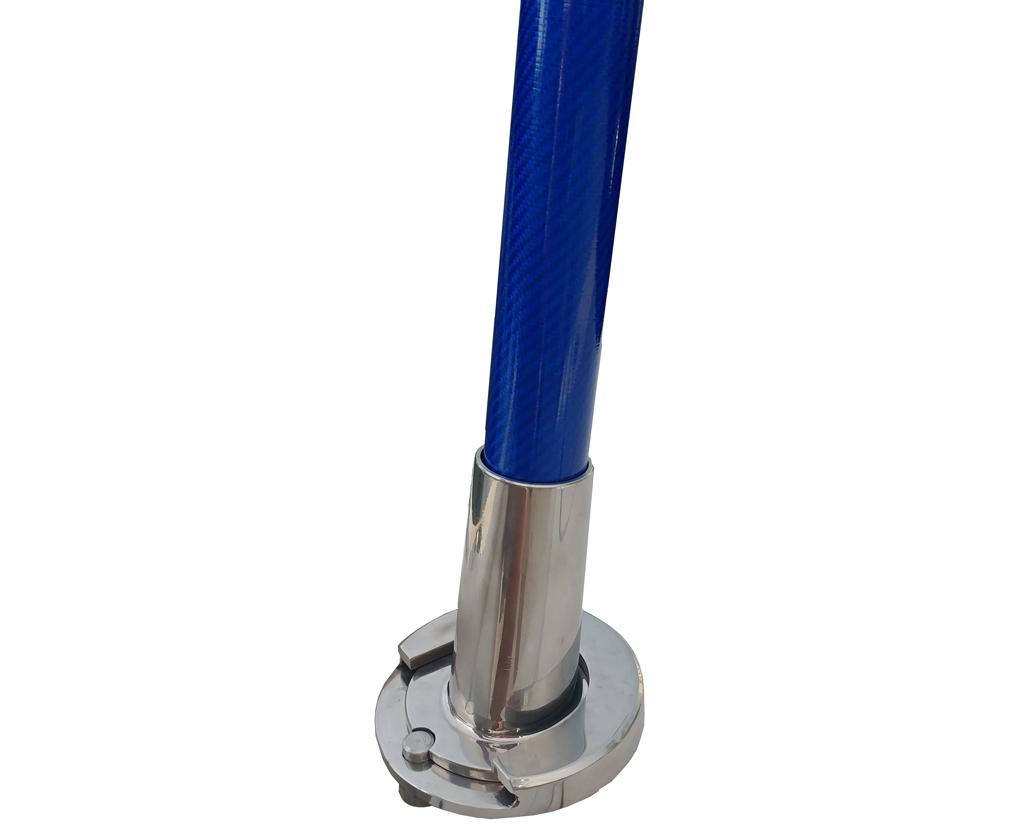
at info@carbiepoles.com – we owned a marine canvas and upholstery business for 15 years, so we truly understand the challenges you face when installing shade on any size boat. For shade 50 square feet or less, use our 1.5 inch telescoping poles, Bow poles, or Stainless Steel telescoping poles. They can be used in regular rod holders or our Separating Mounting Bases
+++++++++++++++++++
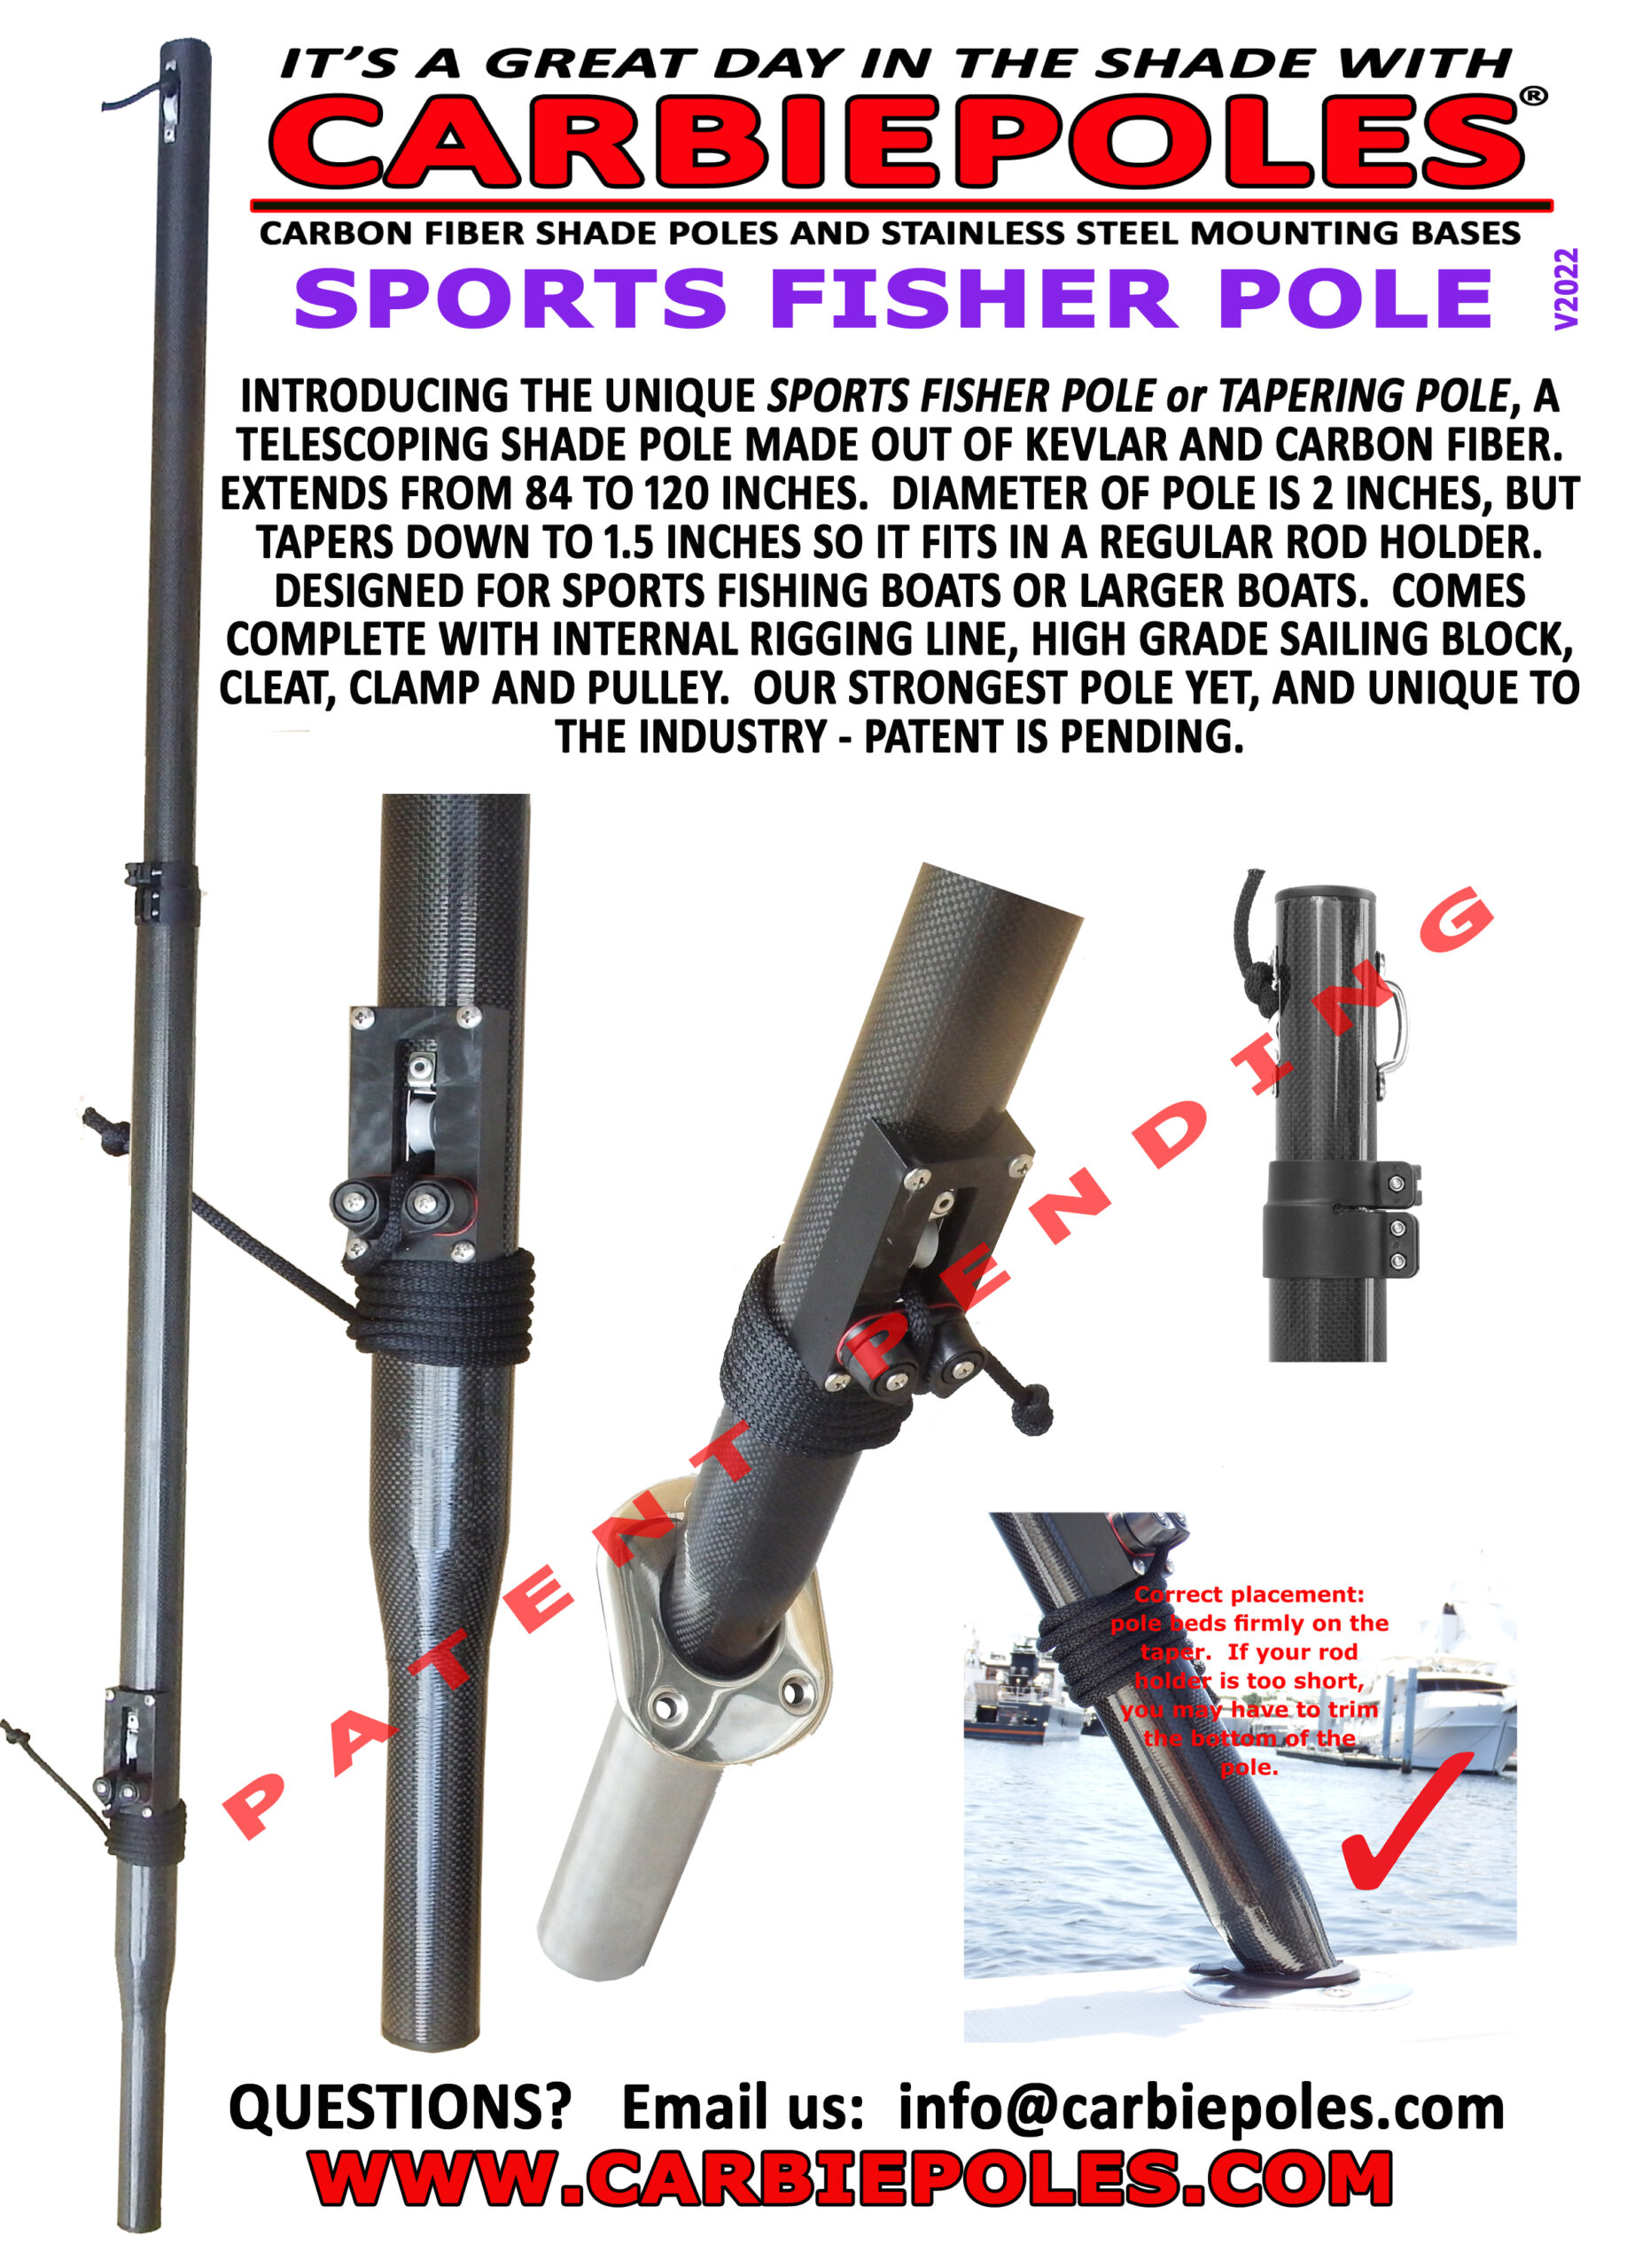
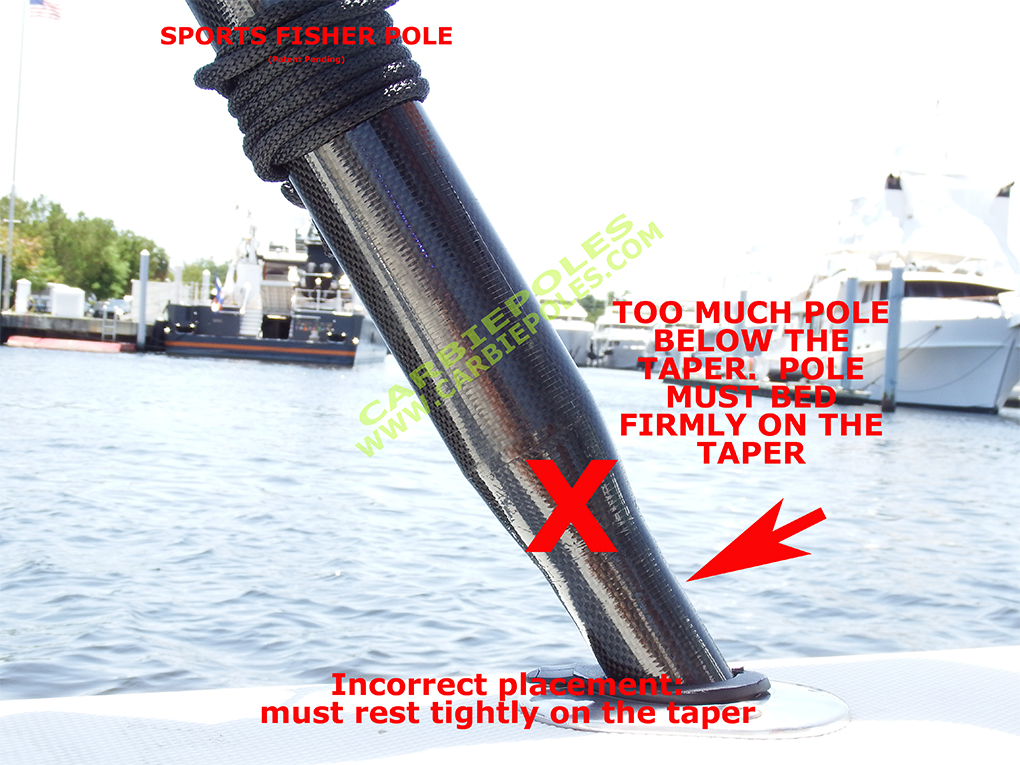
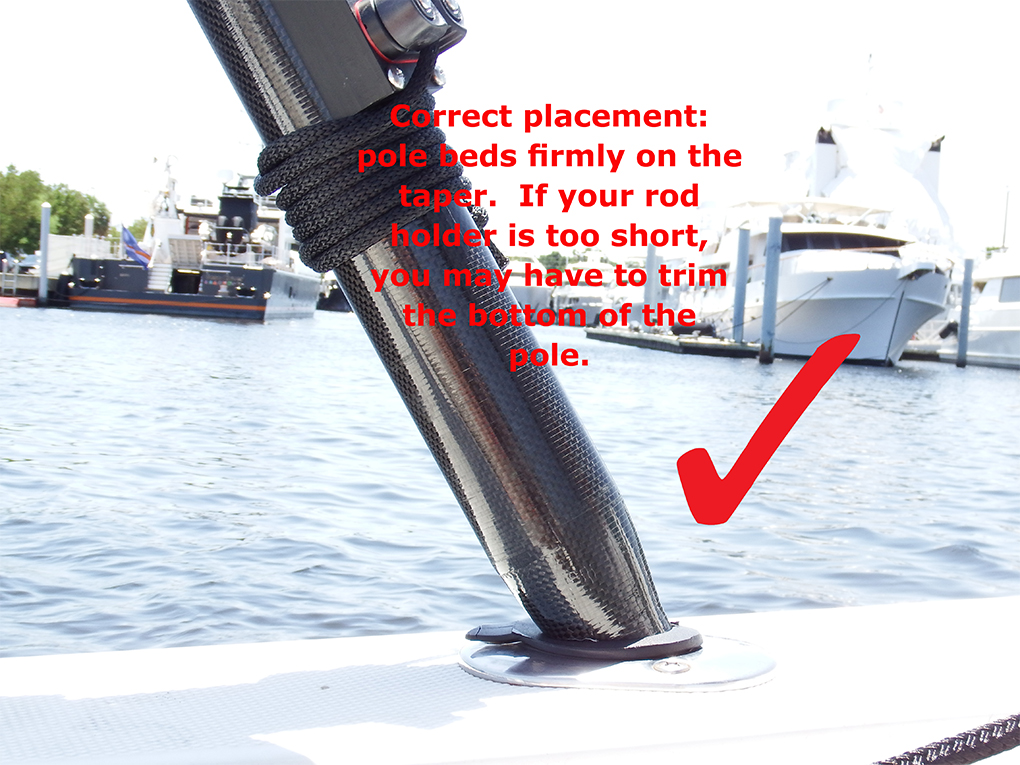
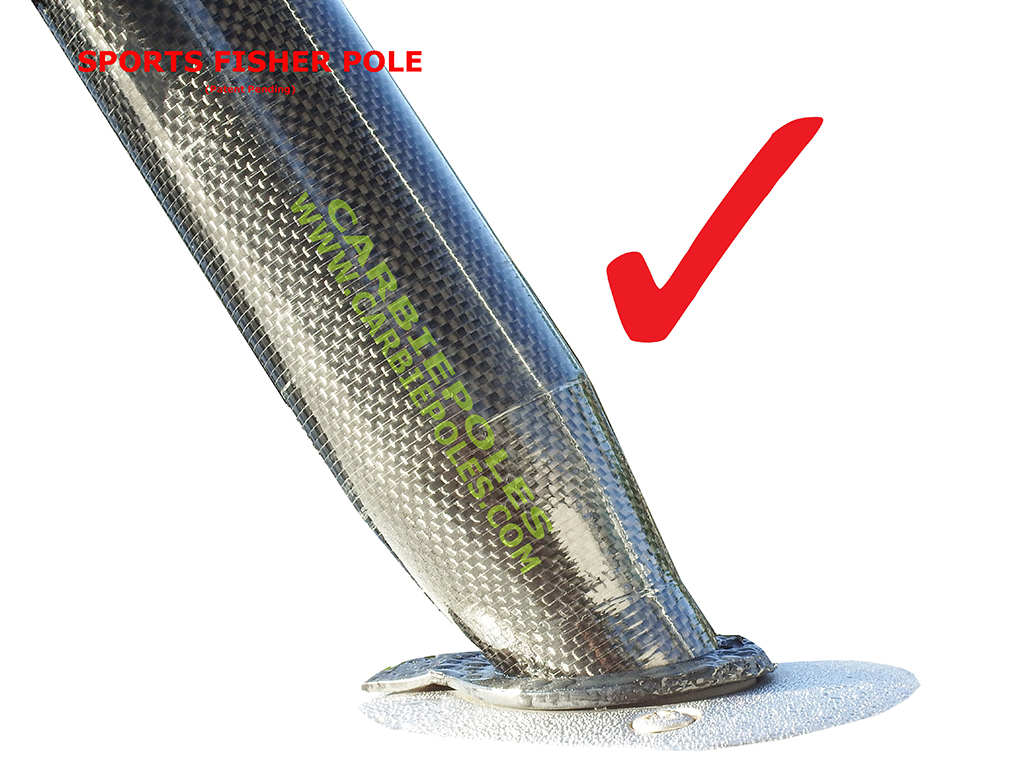
For shade over 50 square feet and less than 120 square feet, use our stronger FIXED (not height adjustable) 1.5 inch diameter “SIGFIX” poles which fit regular rod holders or our Separating Mounting Bases *OR* use our 2 inch telescoping poles (will fit our Separating Mounting Bases) *OR* use our unique tapering Sport Fisher Poles (a 2 inch pole with Kevlar in it, tapers to 1.5 inches so fits regular rod holders)
+++++++++++++++++++
For shade over 120 square feet, use either our unique Sport Fisher Poles (made from Kevlar and carbon fiber, fits regular rod holders) – or use our 3- or 4-inch poles.
+++++++++++++++++++
Questions? Contact us!
It is also very important to take into consideration what the shade material is. Sunbrella is excellent but heavy – consider using a tight and lighter mesh which allows wind to pass through and does not put as much stress on the poles or rod holders.
+++++++++++++++++++
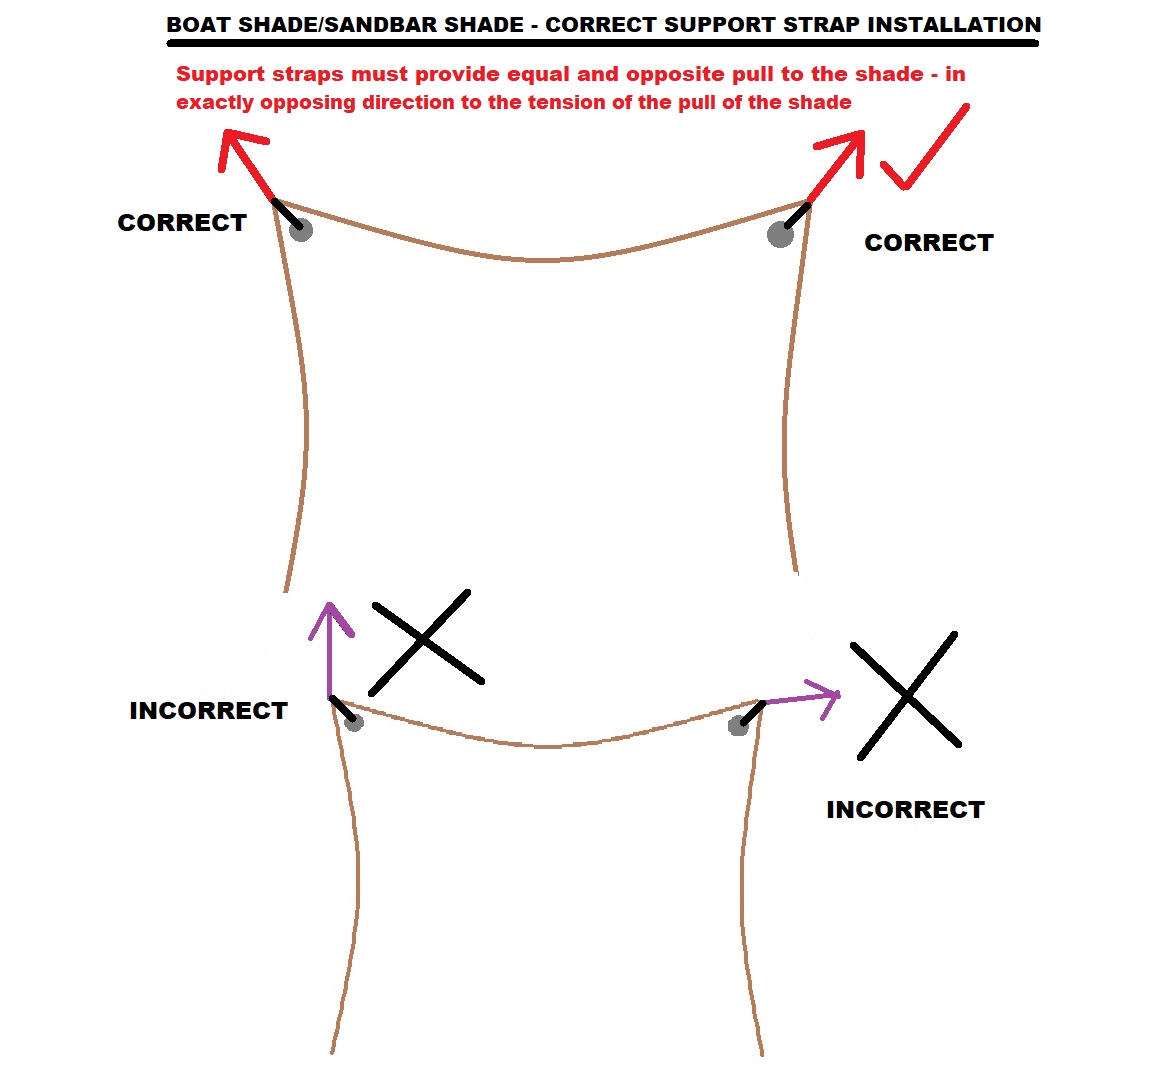
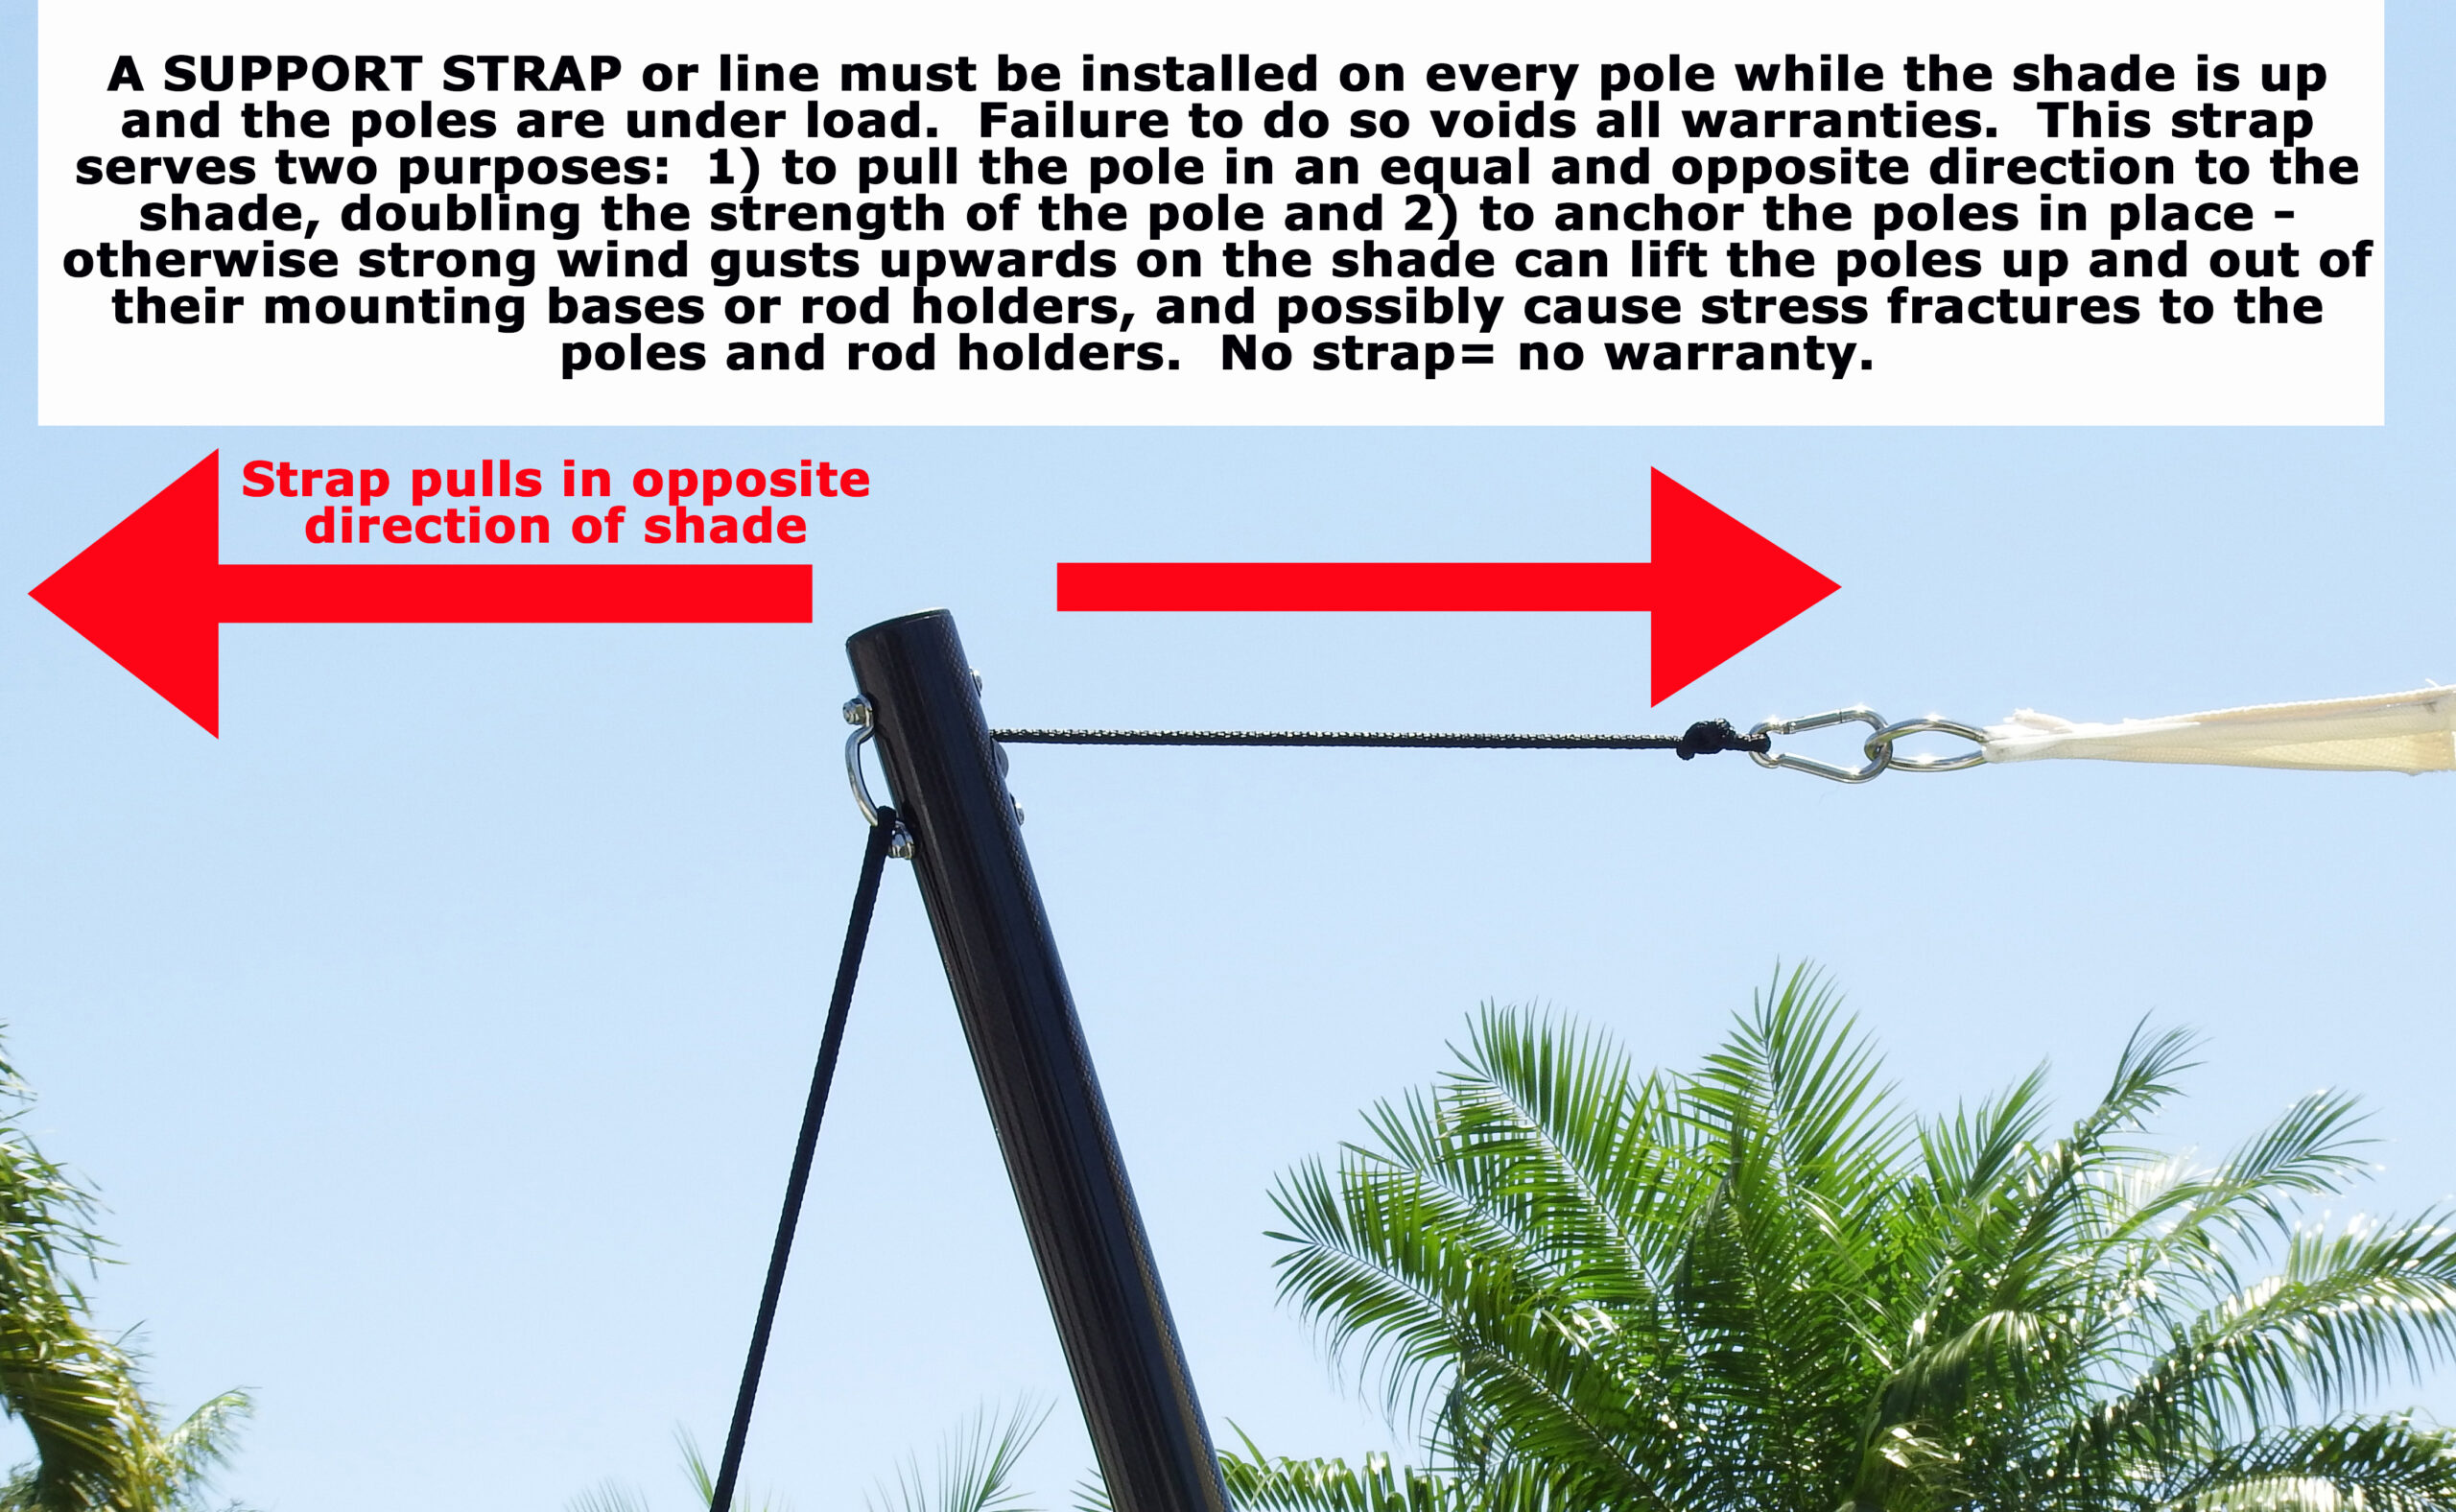
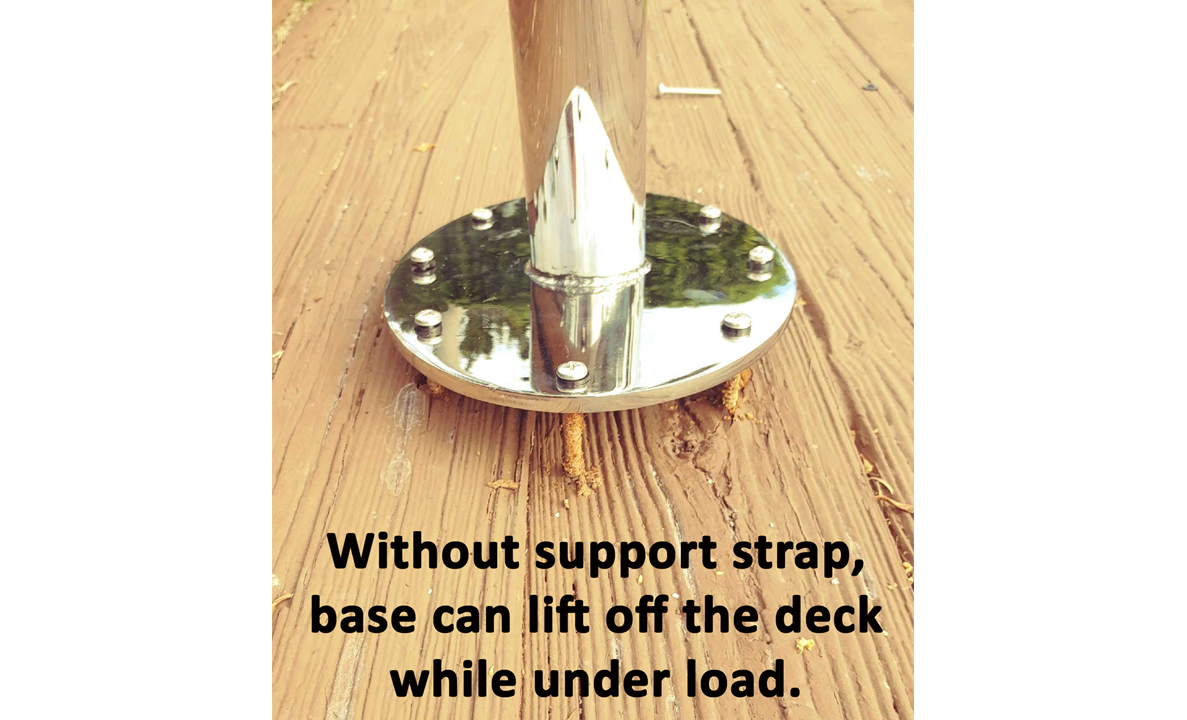
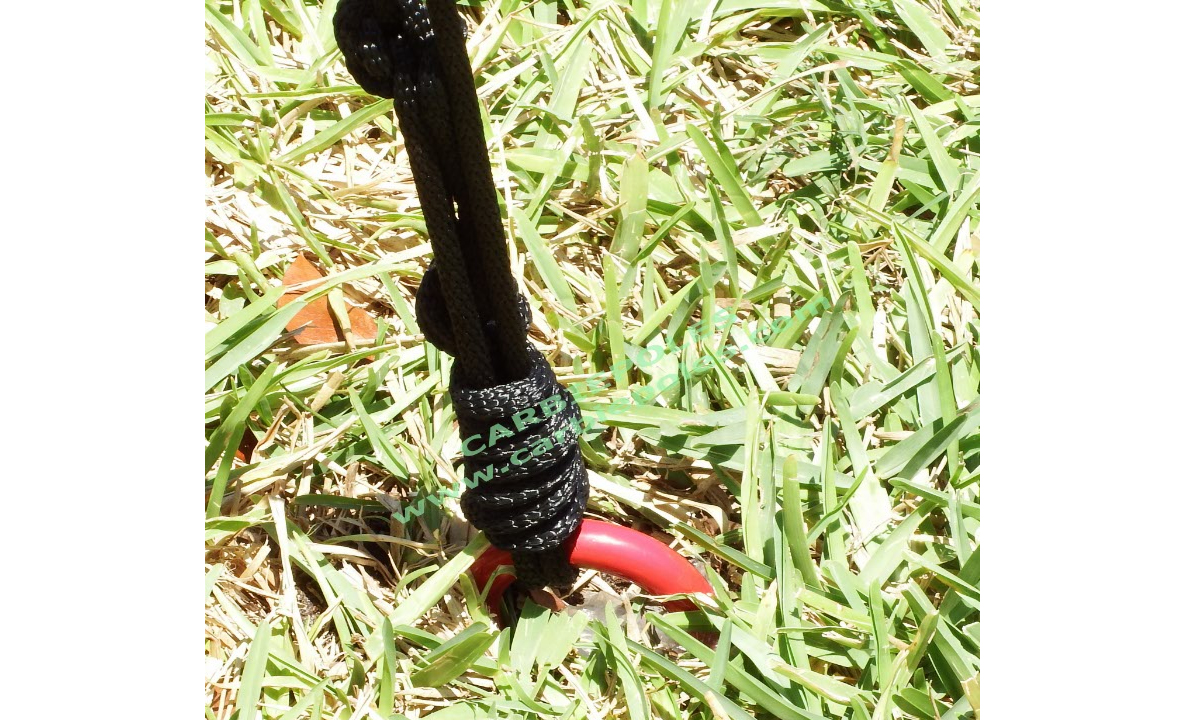
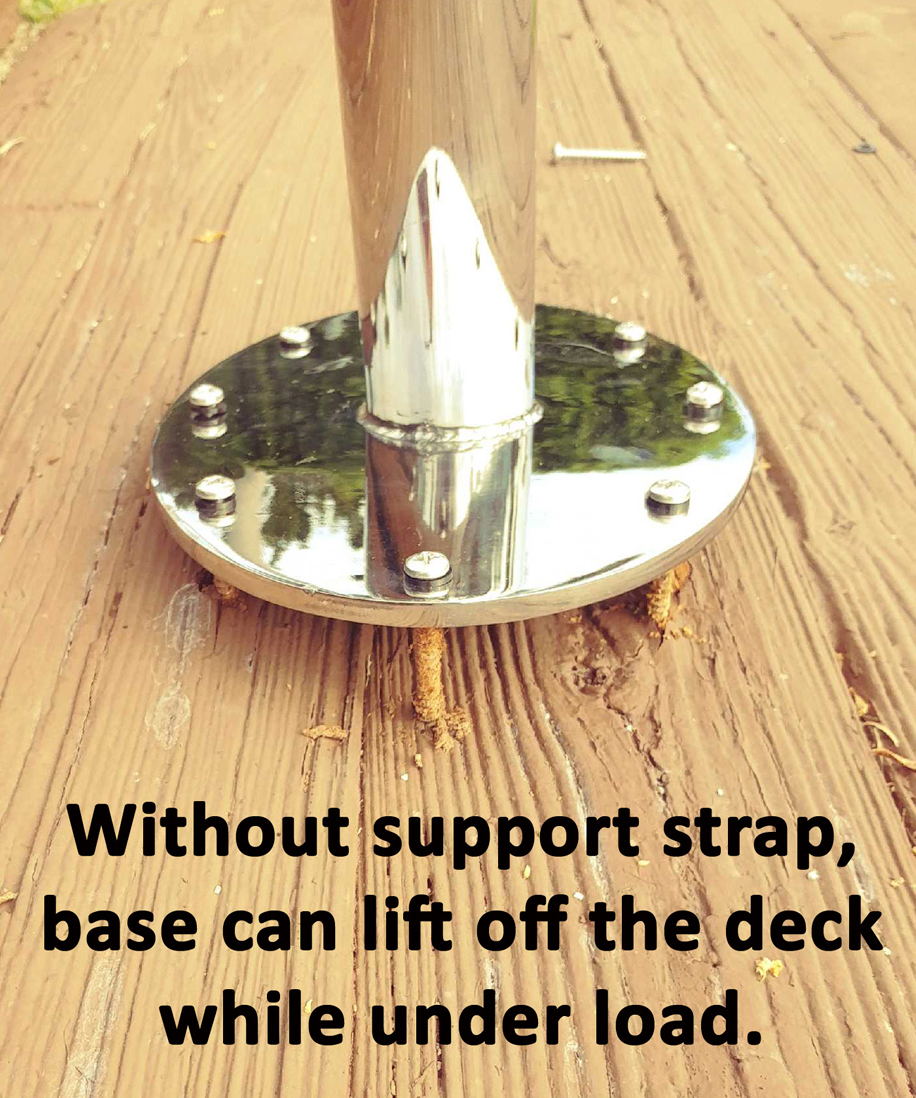
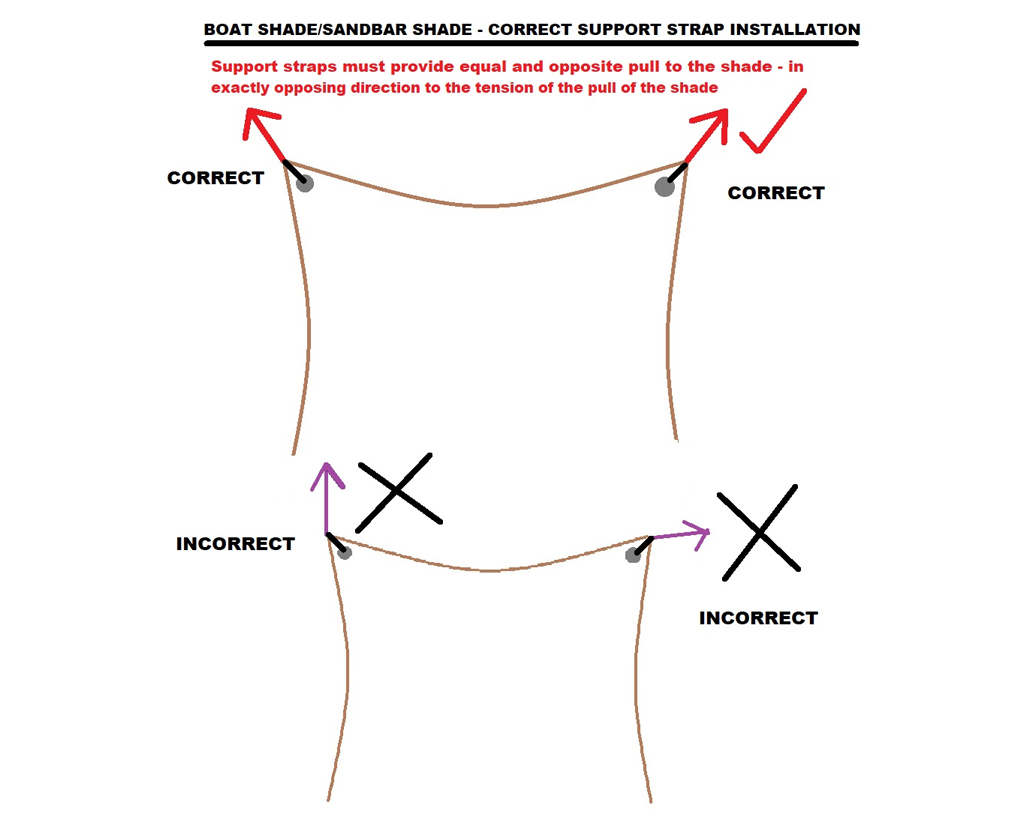
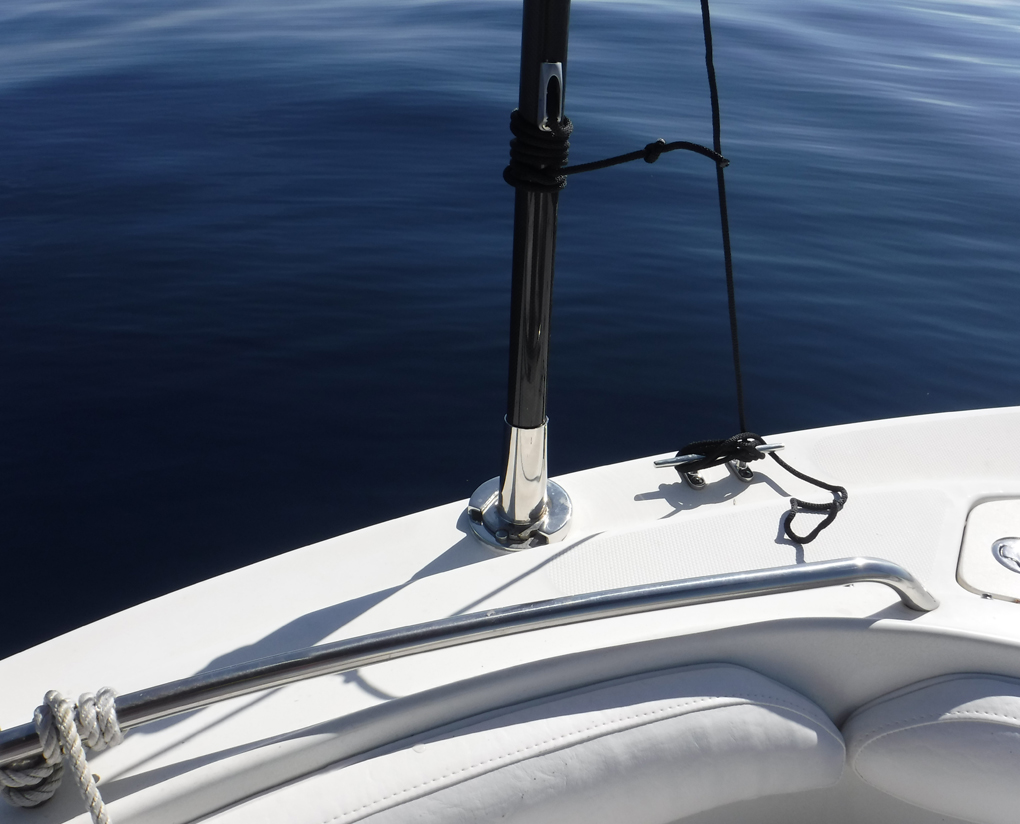
ALWAYS install the support straps: they provide additional strength to the poles while under load and also anchor the poles to the mounts. Otherwise, upward wind gusts can lift the shade and poles right off the boat.
*** NO SUPPORT STRAP = NO WARRANTY***
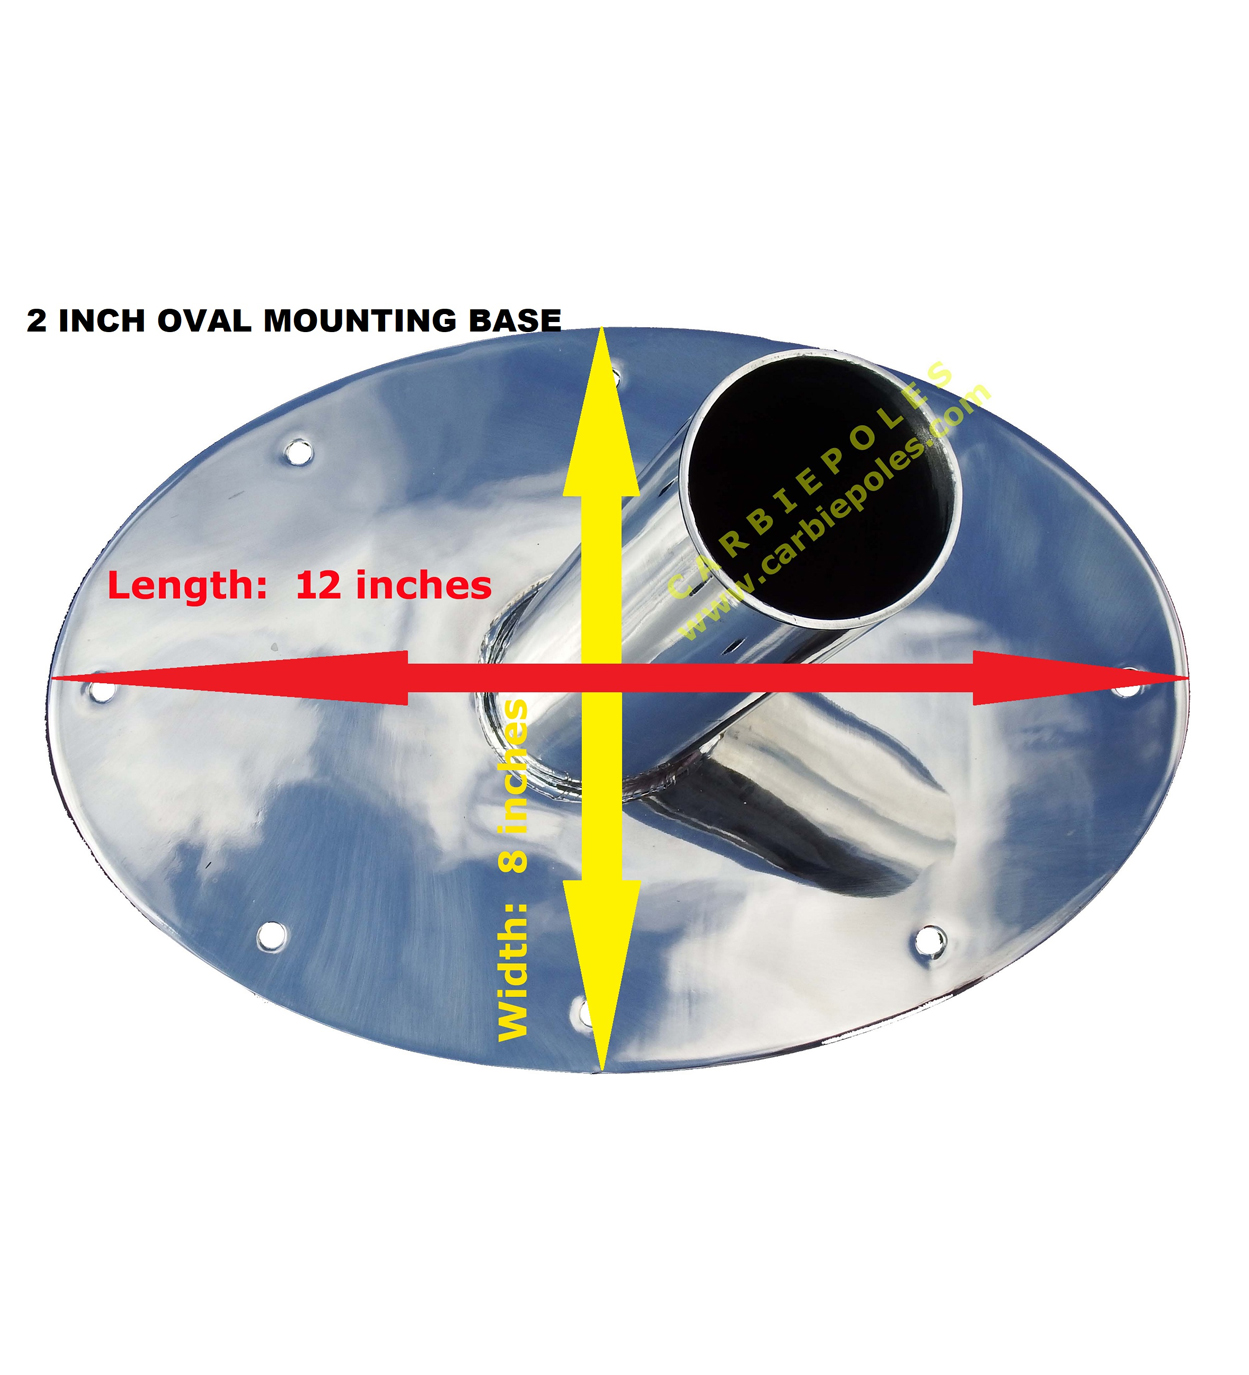
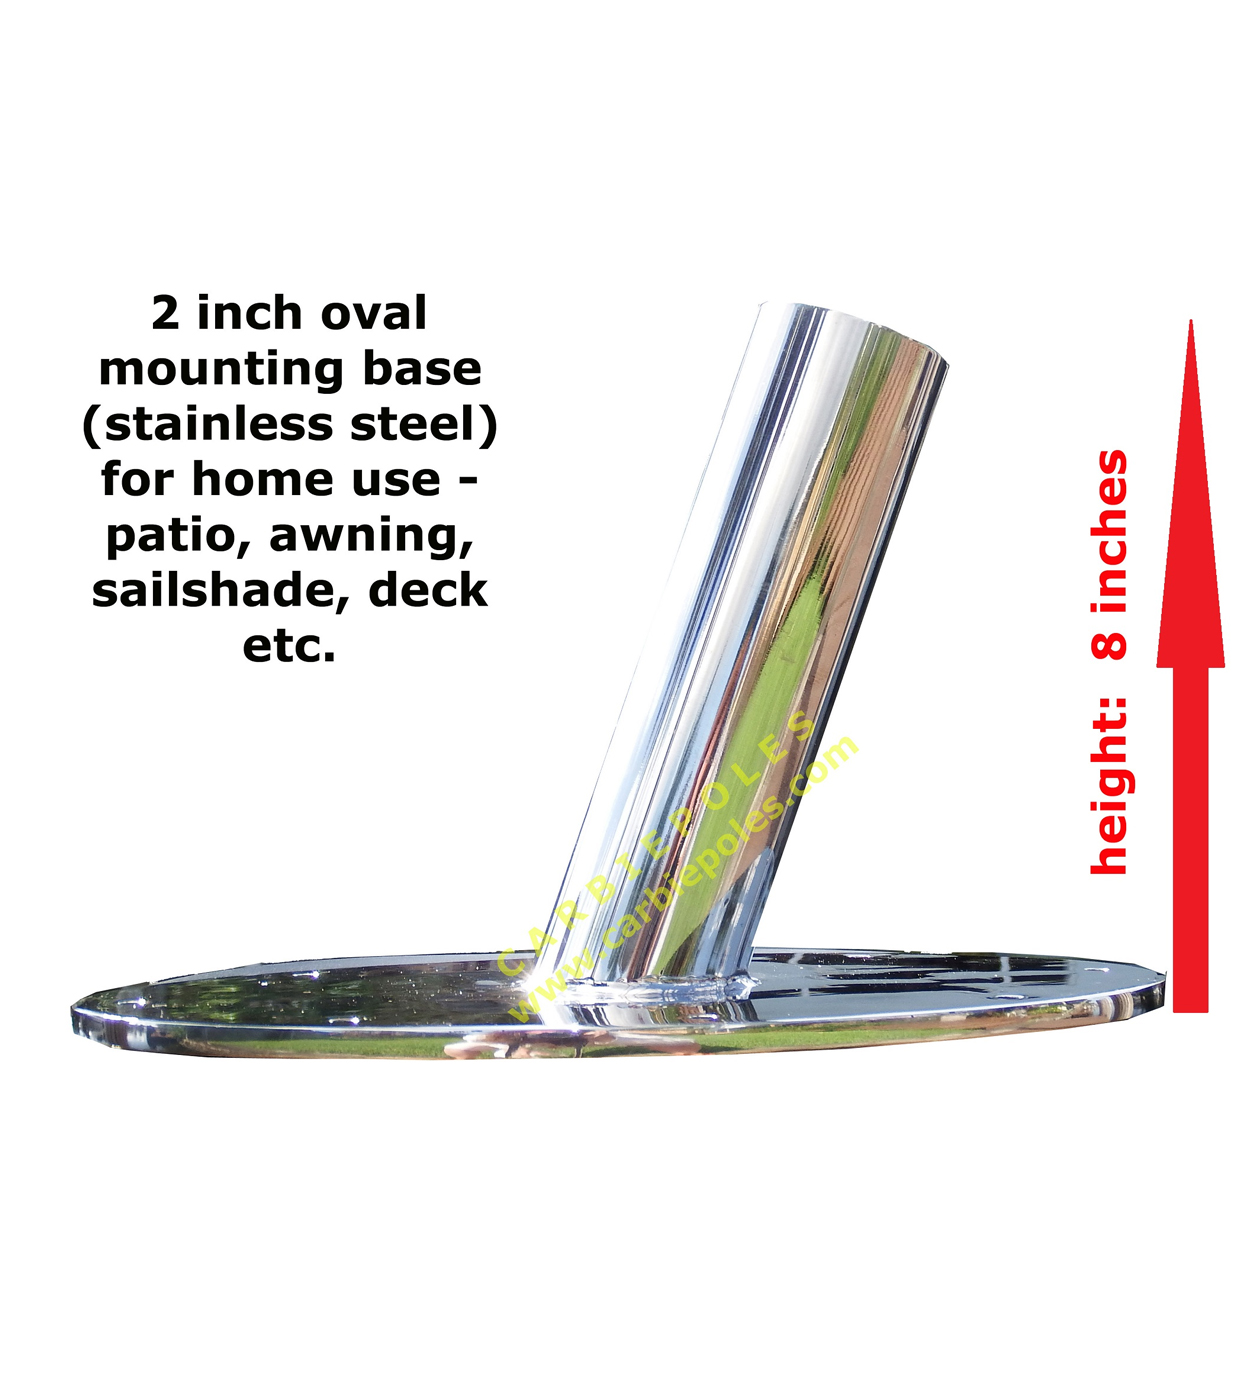
If you are attaching the base to wood ****YOU MUST DRILL HOLES FIRST SO THE WOOD DOES NOT SPLIT****
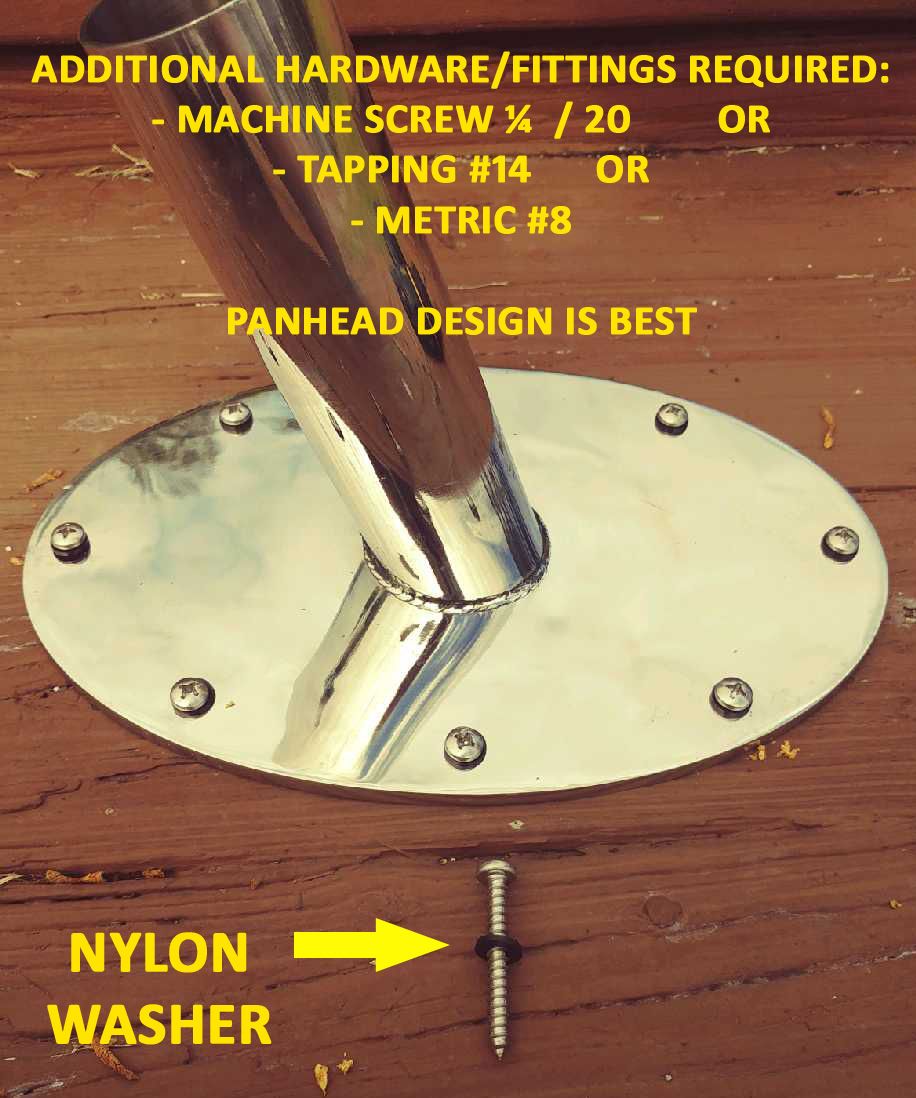
Use correct-size screws, ADDITIONAL HARDWARE/FITTINGS REQUIRED:
– MACHINE SCREW ¼ / 20 OR – TAPPING #14 OR – METRIC #8
PANHEAD DESIGN IS BEST AND NYLON WASHERS ARE HELPFUL.
FOR CONCRETE:
MASONRY OR CONCRETE ANCHORS MUST BE USED IF ATTACHING BASE TO CONCRETE/CEMENT. HERE ARE SOME EXAMPLES, BUT IF IN DOUBT, ASK YOUR LOCAL MARINE HARDWARE STORE
Types Of Masonry Anchors: Double Expansion Shield Anchors are used primarily used in brick and block. …
Sleeve anchors are fairly simple to use and are primarily used in brick or block. …
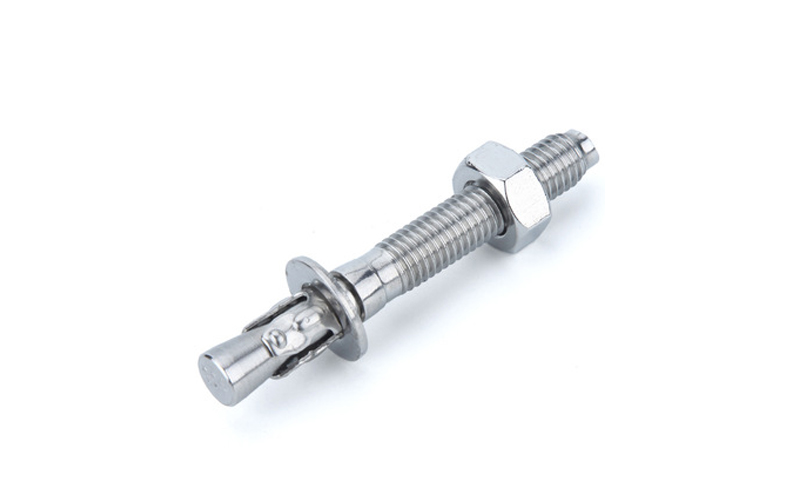
Wedge Anchors are extremely popular and are one of the strongest anchors for hold strength.
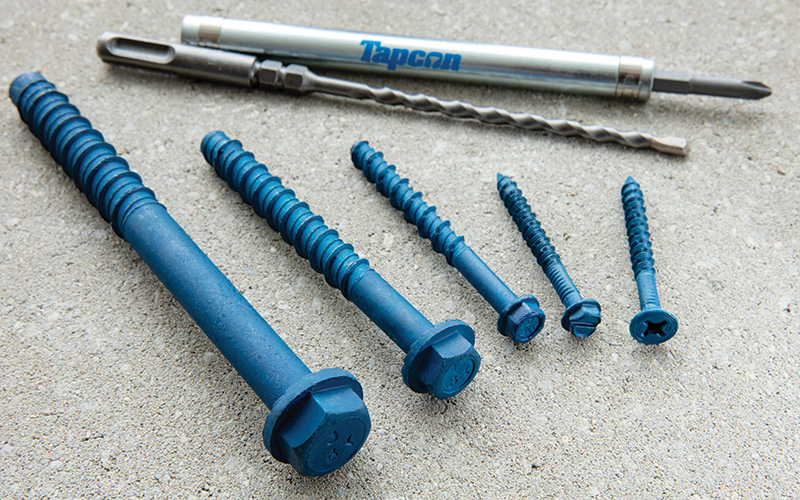
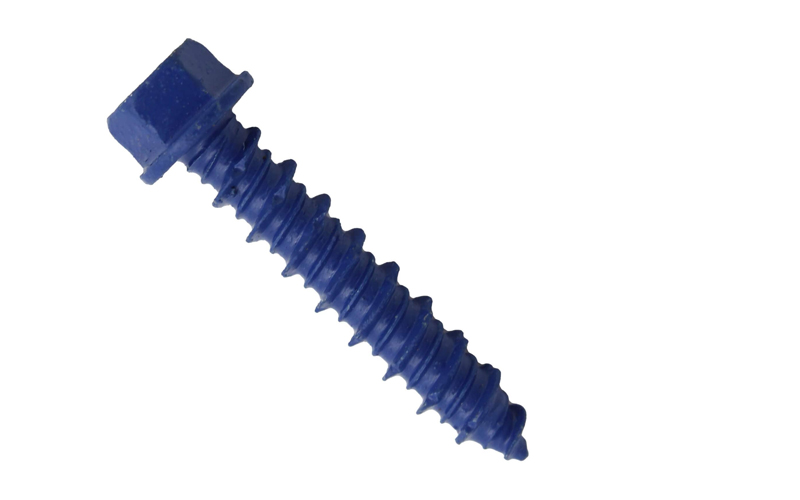
Masonry Concrete Screws, sometimes referred to as Tapcons, are probably the [Tapcon Masonry Concrete Screws] most common concrete fastener used. Concrete screws are easy to identify based on their bright blue coating. They are used for fastening wood or metal to different masonry materials. They are available in both Phillips flat head (for flush finishes) and hex head (for ease of installation).
Installing a concrete screw is very simple. First, drill a hole through both materials and then simply drive the screw into the hole. Make sure you use a screw that is long enough to reach through both materials otherwise you will not have a firm hold.
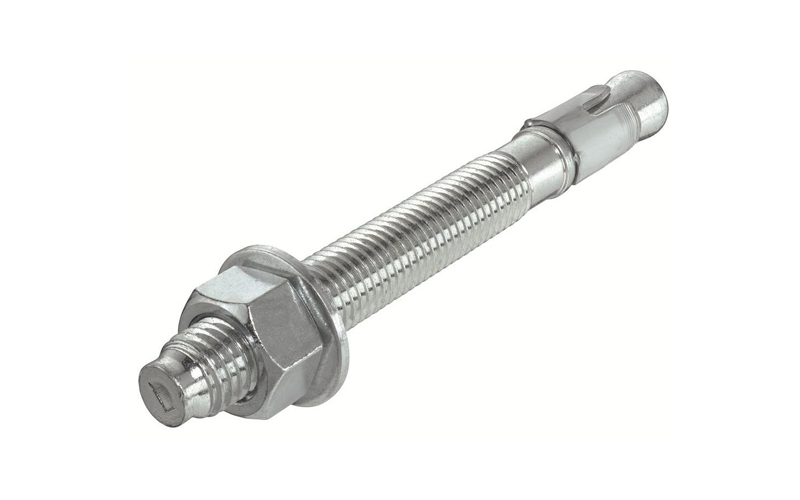
Wedge Anchors [Wedge Anchors] – here are a couple of examples. If in doubt, ask your local hardware store for advice.
Wedge Anchors are extremely popular and are one of the strongest anchors for hold strength. Wedge anchors look and function like a sleeve anchor but have a much smaller sleeve near the bottom of the anchor.
To install a wedge anchor simply drill a hole that is the same size diameter as the anchor and place it into the hole. After placing the material being held to the concrete on the exposed portion, place the washer and thread the fastener onto the anchor. As the nut is tightened against the washer, it will begin pulling the anchor up. This will result in the wedge skirt catching the concrete and expanding and digging into the concrete as the anchor is pulled out. Once the base is installed then the pole can be installed in the base.
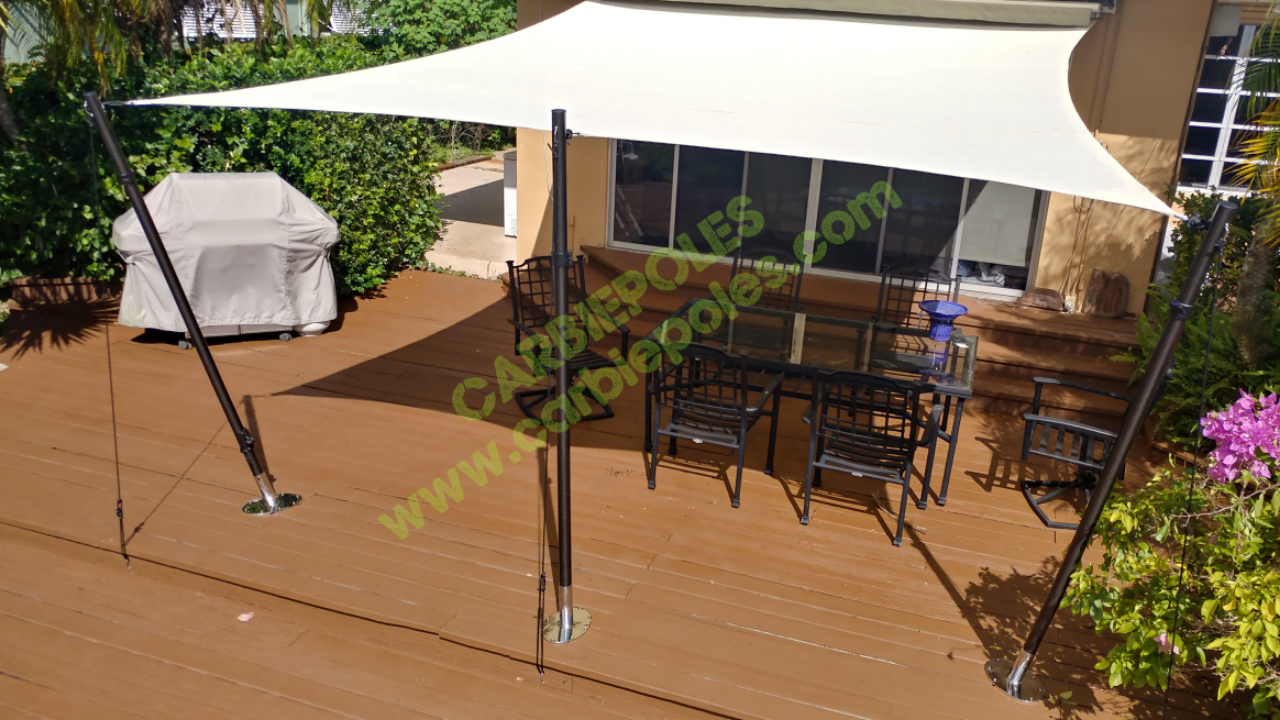
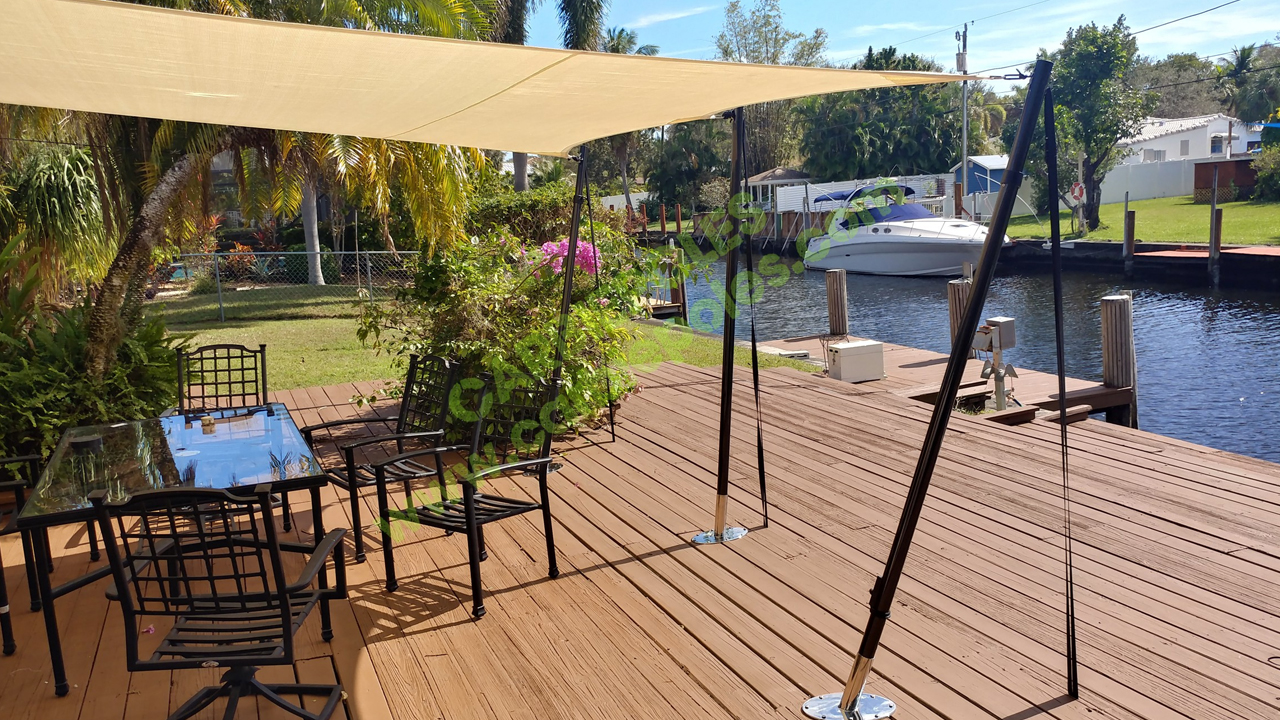
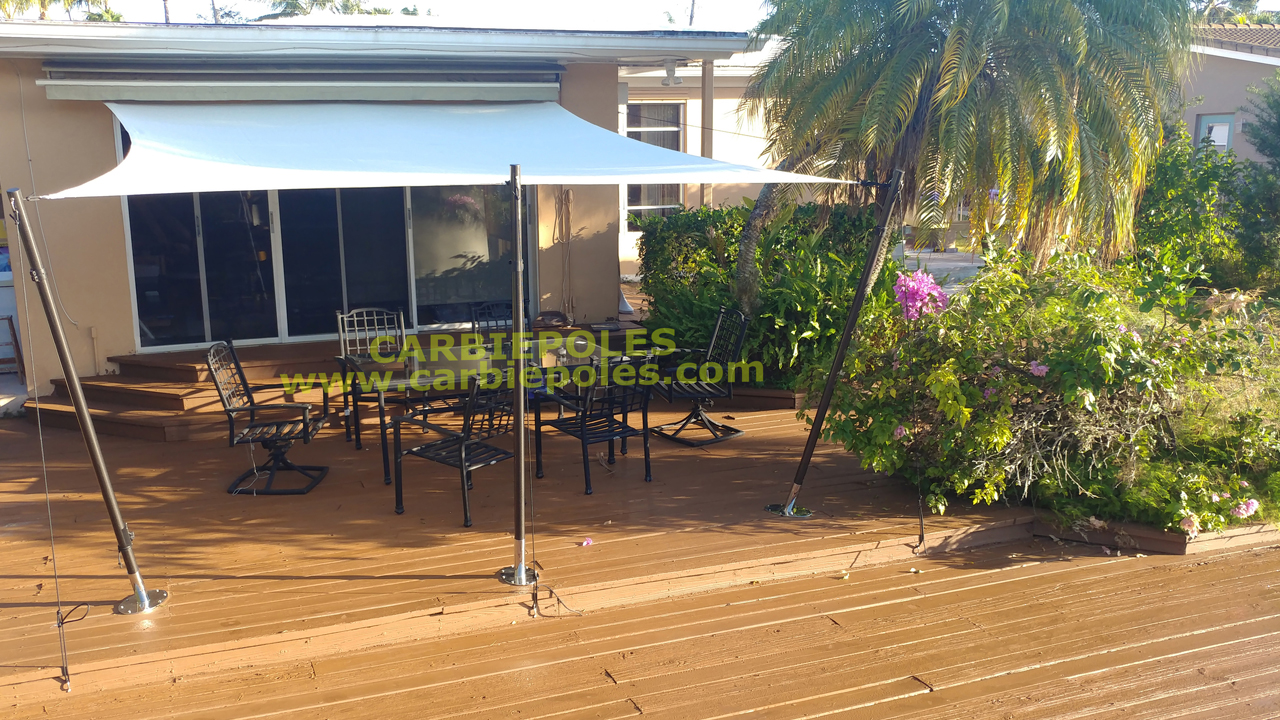
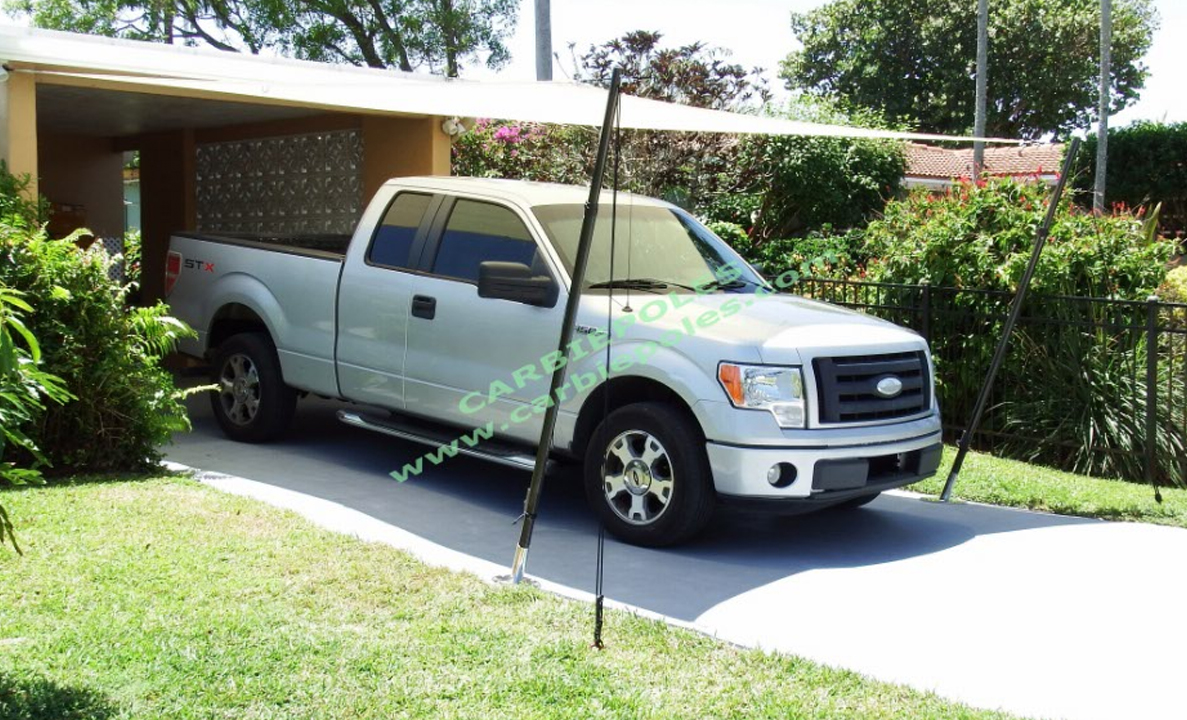
IDEAL DISTANCE BETWEEN POLES IS 6 – 12FT DEPENDING ON ELEVATION , DIRECTION OF PREVAILING WIND,
ATTACHMENT POINTS OF BASE , SHAPE AND SIZE OF SHADE. IF IT’S A LARGE SHADE, YOU MAY NEED THREE OR MORE POLES PER SIDE.FABRIC TO BE USED: WE LIKE AND RECOMMEND POLYFAB, IT IS LIGHT, STRONG, LONG GUARANTEE, AVAILABLE IN 12FT WIDE SO UNLIKELY TO NEED A SEAM. FOR MORE INFORMATION ASK OUR DISTRIBUTORS OR VISIT
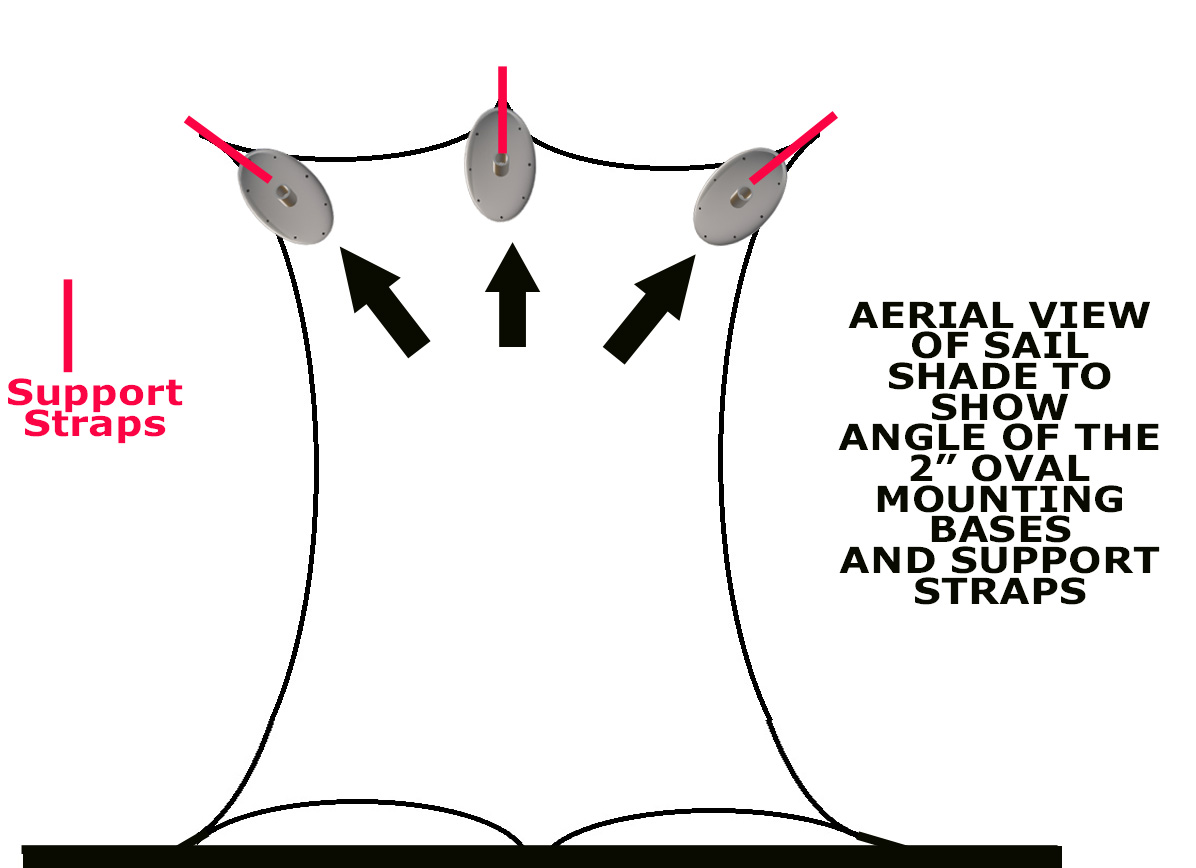
WWW.POLYFABUSA.COM. ONCE YOU HAVE FABRICATED THE SHADE, MAKE SURE YOU ADD THE SUPPORT STRAP ON THE BACK, ATTACHED TO THE PADEYE, WHICH SECURES/ANCHORS THE POLES TO THE GROUND. STRAP CAN BE WEBBING, RIGGING WIRE, MARINE GRADE LINE/ROPE ETC. SHADE SHOULD BE INSTALLED TIGHT, NO FLAPPING. IF IT IS LOOSELY INSTALLED, IT WILL CAUSE MORE DESTRUCTIVE PRESSURE TO THE POLES AND BASES WHEN THE WIND GUSTS AGAINST THE SHADE.
*************When tightening the clamp – make sure the lever is open while you do it – tighten it so that it is nice and snug and THEN close the lever.************* Don’t try to tighten the clamp while the lever is closed – and be sure not to over tighten the clamp
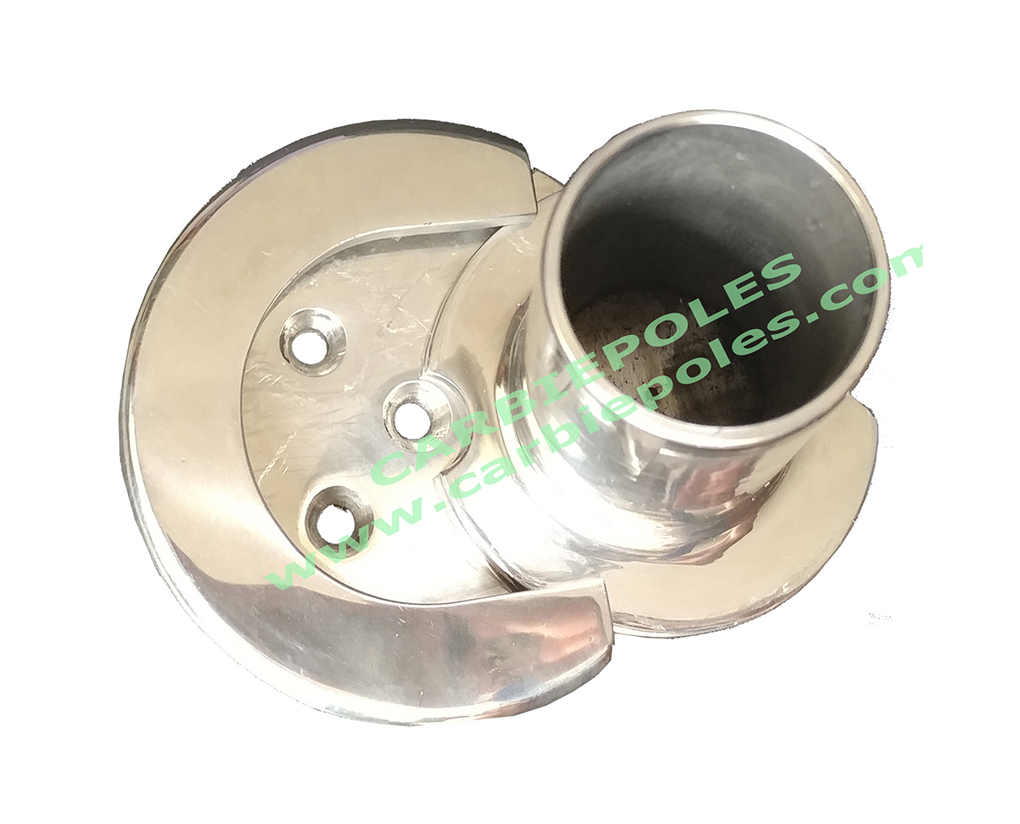
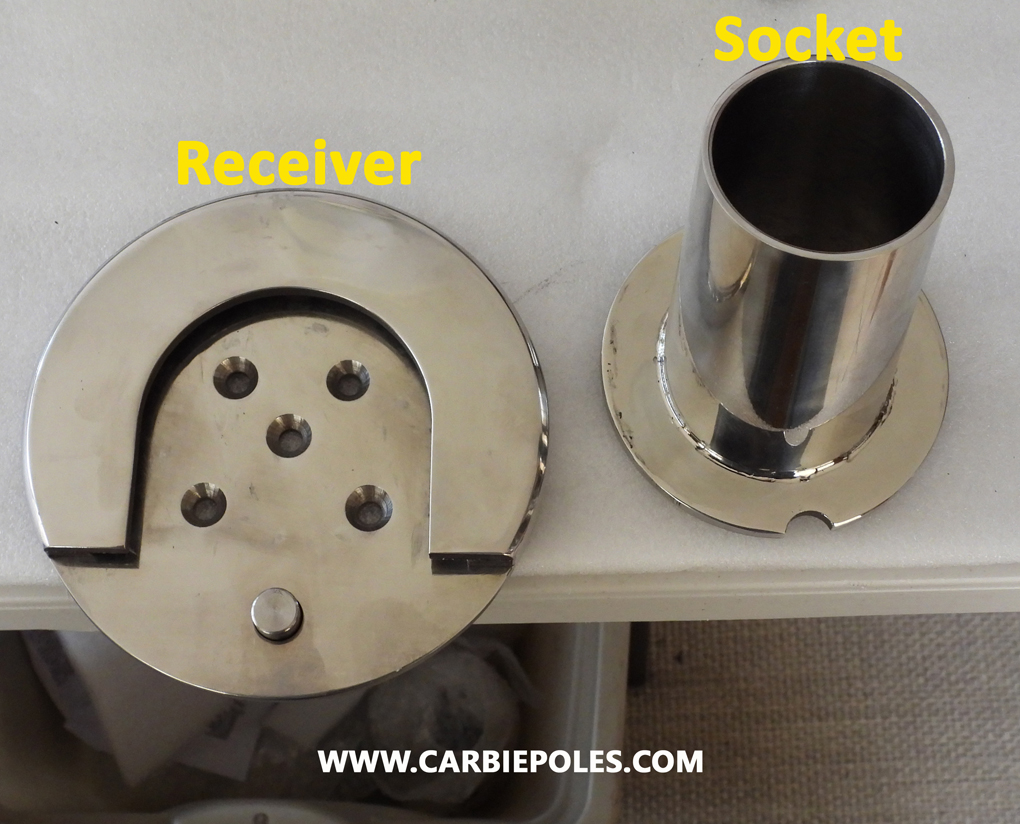
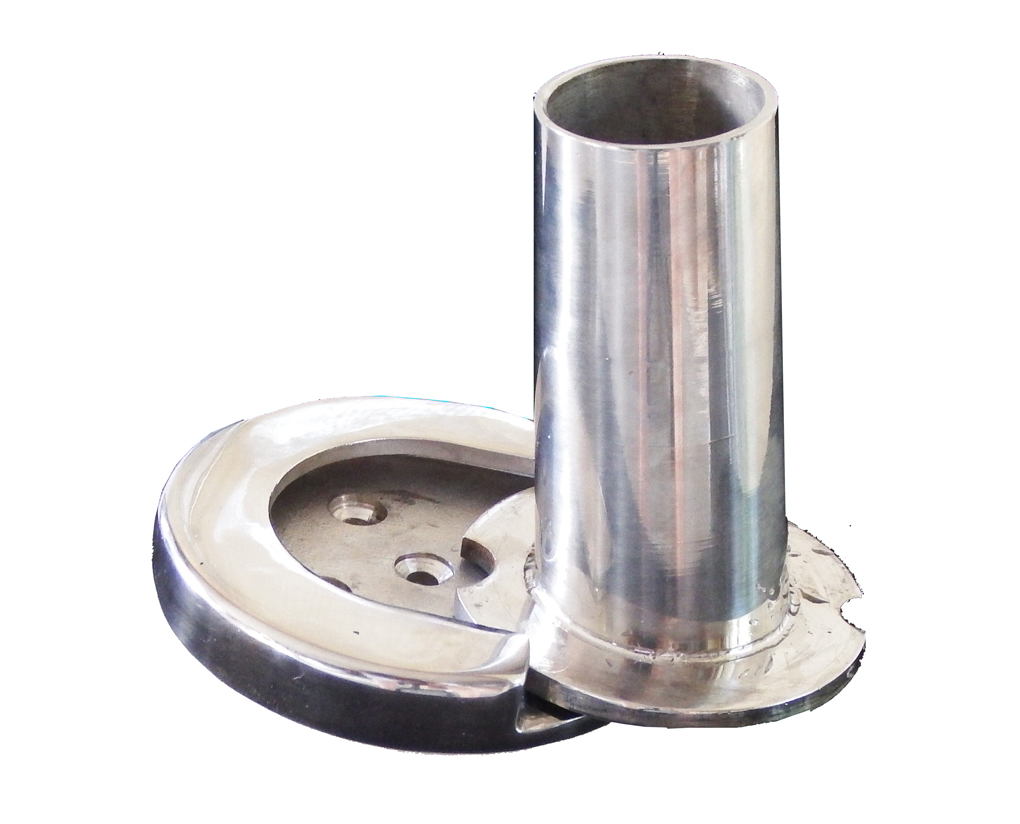
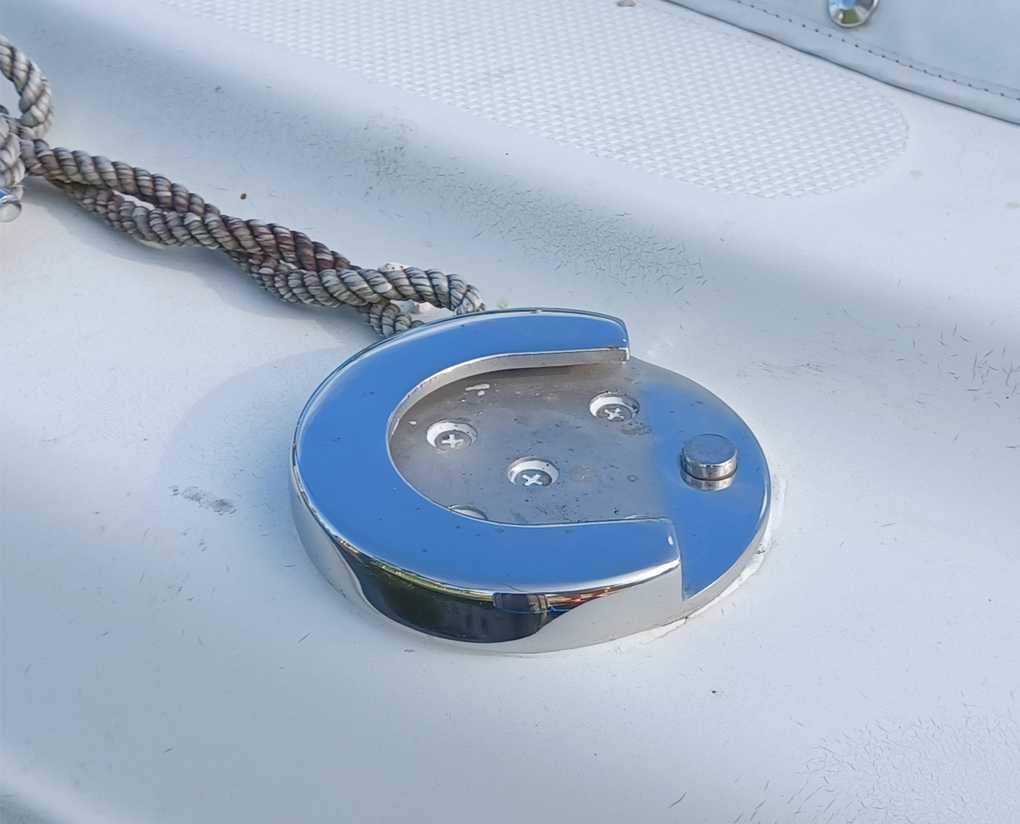
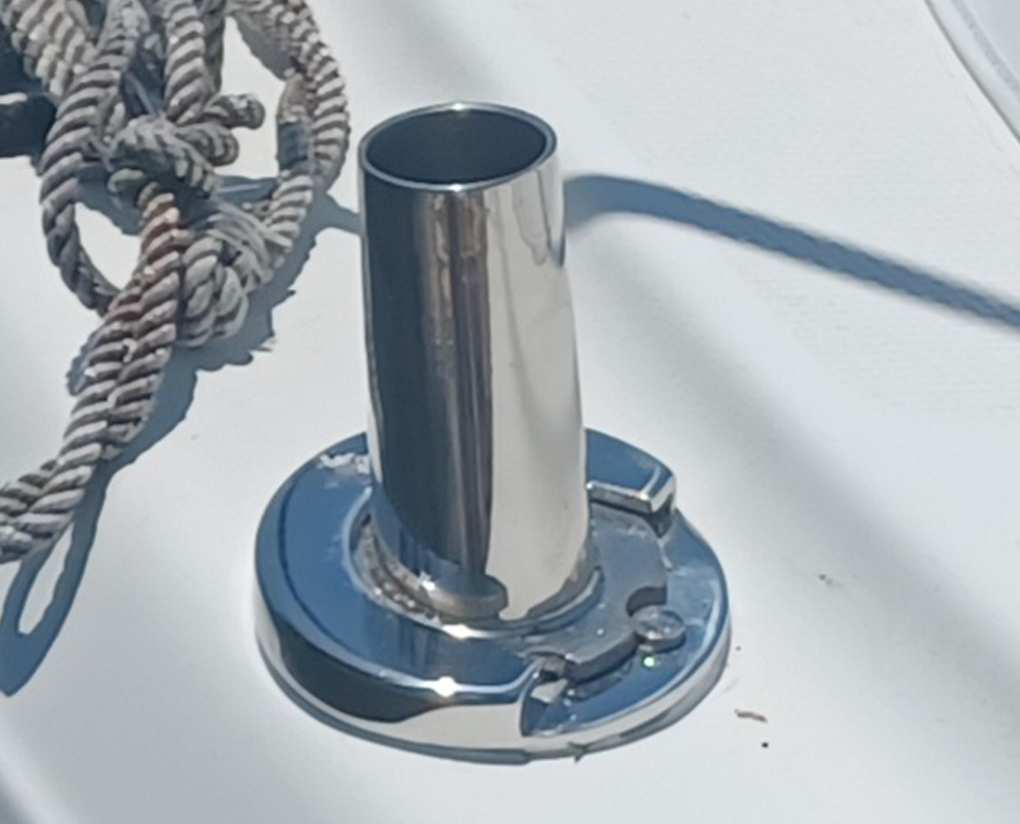
Step 1: Install receiver on boat so that the socket faces away from where the shade will be installed
Step 2: Slide socket in, install shade pole with support strap, do not tighten shade till the support strap is secure.

